
Let's talk about the first impression your users get. For years, the standard Salesforce welcome email has been pretty forgettable - just a generic message that often gets buried in a new hire's inbox. But with the Spring '25 release, we can finally fix that by branding these emails for internal users.
I've seen plenty of teams spend weeks building complex training manuals, only to have new hires get stuck at the very first step because they didn't recognize the automated login email. It sounds like a small thing, but a branded email actually helps with adoption. When a user sees your company logo and clear instructions, they feel like they're in the right place.
Why your Salesforce welcome email needs a makeover
Think about a new employee on their first day. They're getting hit with a dozen different system logins. If they get a plain text email from a "noreply" Salesforce address, there's a good chance they'll ignore it or think it's spam. That's exactly where the support tickets start piling up.
By customizing your Salesforce welcome email, you're giving them a roadmap. You can include links to your internal help desk, a quick "getting started" video, or even a link to a Salesforce for beginners course. It's about providing clarity from the second they join the org. As I've said before, clarity is an admin's most valuable contribution to the business.
Pro Tip: Don't just add a logo. Use this space to tell users exactly who to contact if they get stuck with MFA or password issues. It saves everyone time.
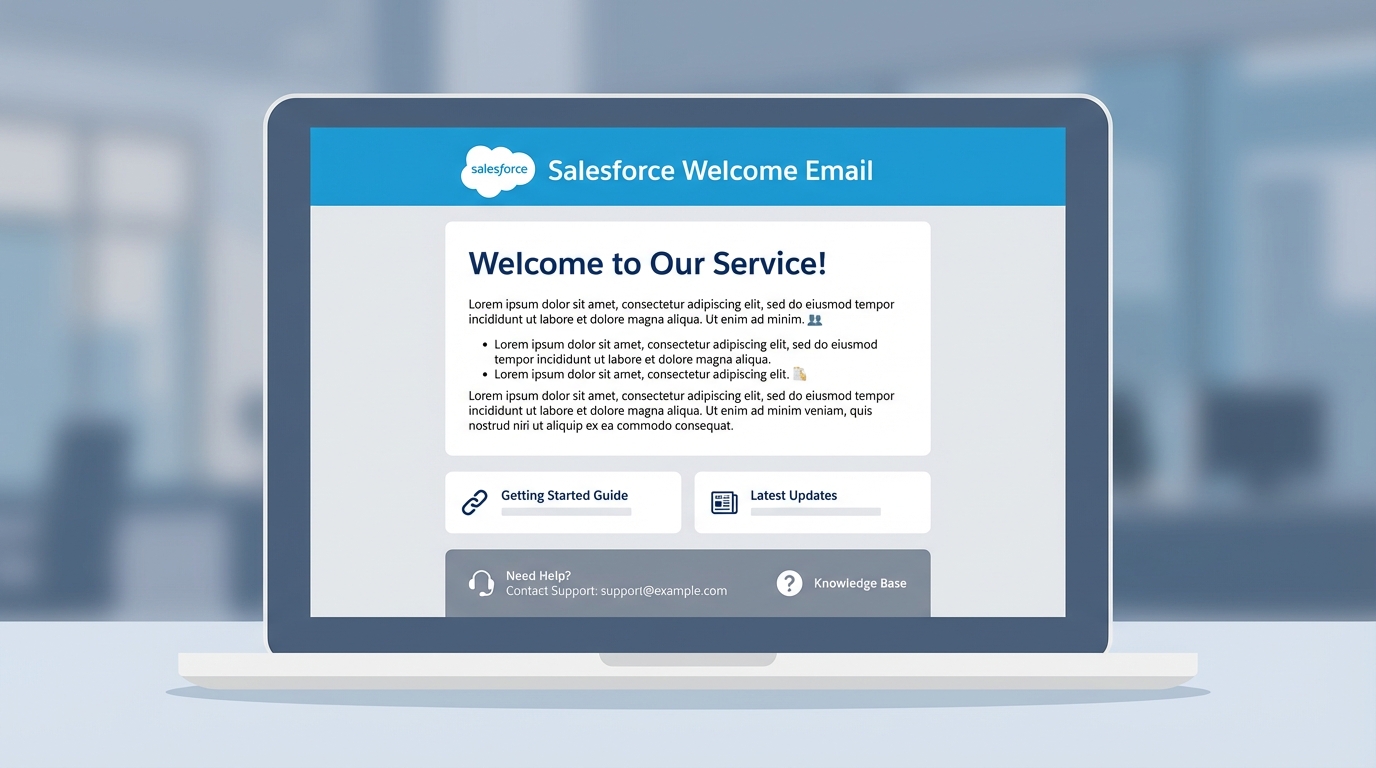
A professional mockup of a Salesforce welcome email template layout displayed on a laptop screen, showing sections for branding and support contact information.
How to set up your branded Salesforce welcome email
So how do we actually build this? Right now, Salesforce still relies on Classic Email Templates for this specific setting. It might feel a bit old-school, but it gets the job done. Here is the breakdown of the process.
Step 1: Build the Classic Template
First, you need a place for your branding to live. Go to Setup and search for Classic Letterheads. This is where you'll upload your company logo and set your brand colors. Once that's ready, follow these steps:
- Go to Classic Email Templates in Setup and click New.
- Select HTML (using Classic Letterhead). This is the easiest way to make it look professional without writing a bunch of custom code.
- Make sure you check the Available For Use box, or you won't be able to find it later.
- Give it a clear subject line like "Welcome to the [Company Name] Salesforce Org."
- In the body, you MUST include the merge field
{!NewUserWelcomeEmailLink}. Without this, your users won't have a link to set their password.
Step 2: Update your Session Settings
Now that you've built the template, you have to tell Salesforce to use it. This is the part that usually trips people up because it isn't located under the User settings. You'll find it in Session Settings.
Scroll down until you see the Welcome Email Template field. Search for the template you just created and hit save. Now, every time you create a new internal user, they'll get your branded Salesforce welcome email instead of the generic one.
Key Takeaways
- A branded Salesforce welcome email reduces "how do I log in?" support tickets.
- You have to use a Classic Email Template for this to work in the Spring '25 release.
- Always include the
{!NewUserWelcomeEmailLink}merge field so users can actually set their passwords. - The configuration lives in Session Settings, not on the User object itself.
One thing to keep in mind: always test this in a sandbox first. Send a test email to yourself and check it on your phone. Most people check their email on mobile during onboarding, so you want to make sure your logo doesn't look huge or broken on a small screen. It's a quick win that makes you look like a pro and makes life easier for your new users.


Leave a Comment