
Why you'd want to put a Lightning component in Visualforce
If you're still maintaining legacy pages, you've probably wondered about the best way to embed a Lightning component in Visualforce without doing a full rewrite. We've all been there. You have a massive, complex Visualforce page that works perfectly fine, but you want to add a modern piece of UI or a specific feature that's only available in Lightning. Instead of migrating the whole thing, we use Lightning Out.
It's a common scenario in older orgs. You might be halfway through a transition to Lightning Experience, or maybe you're stuck in Classic for a specific business reason. Whatever the case, being able to drop a Lightning component in Visualforce is a lifesaver. It lets you build new features using modern tools while keeping your old pages functional.
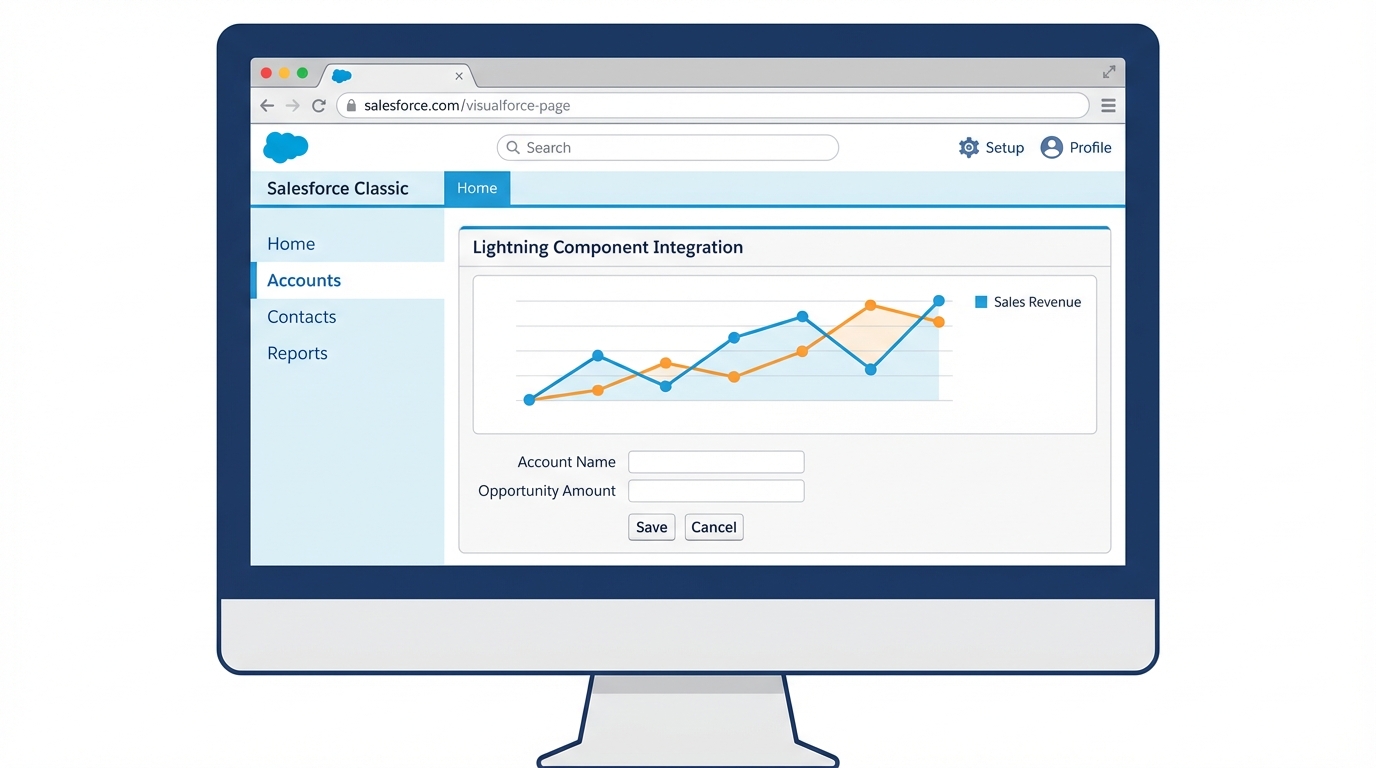
A digital mockup showing a modern Lightning component seamlessly embedded within a classic Salesforce Visualforce page layout.
The step-by-step guide to adding a Lightning component in Visualforce
The secret sauce here is Lightning Out. It's essentially a bridge that lets you run Lightning components outside of the standard Lightning container. But look, there are a few things you need to get right before you start writing code. First, you need My Domain enabled. If you don't have that set up, stop right here and go do it. Nothing will work without it.
Second, your component and your application need to be accessible. You'll need to set access="GLOBAL" on your Aura components. I've seen plenty of developers miss this and spend an hour wondering why their scripts are throwing 404 errors. Here's how we actually build this thing.
1. Create the Aura App Wrapper
You can't just call a component directly from Visualforce. You need an Aura App to act as the host. This app needs to extend ltng:outApp and declare which components it's going to use. Here's a simple example of what that c:myLightningApp.app file should look like:
<aura:application extends="ltng:outApp" access="GLOBAL">
    <aura:dependency resource="markup://c:myComponent" />
</aura:application>
Notice the force:slds isn't strictly required in the app if you're already using it in the component, but it doesn't hurt. The main thing is that aura:dependency tag. That tells Salesforce to pre-load your component so it's ready when the Visualforce page asks for it.
2. Writing the Visualforce Page
Now for the Visualforce side. You'll use the <apex:includeLightning /> tag to bring in the necessary JavaScript libraries. Then, you'll use a small script block to initialize the app and create the component. It's pretty straightforward once you see the pattern.
<apex:page standardController="Account">
    <apex:includeLightning />

    <div id="lightning-container" />

    <script>
        $Lightning.use("c:myLightningApp", function() {
            $Lightning.createComponent(
                "c:myComponent",
                { "recordId": "{!Account.Id}" },
                "lightning-container",
                function(cmp) {
                    console.log('Component is live!');
                }
            );
        });
    </script>
</apex:page>
One thing that trips people up is the third parameter in $Lightning.createComponent. That's the ID of the HTML element where you want the component to land. In this case, it's our div with the ID lightning-container. If that ID doesn't match, your component simply won't show up.
3. What about Lightning Web Components (LWC)?
You can absolutely use an LWC too. But here's the thing: you still need that Aura App wrapper. You just point the aura:dependency to your LWC instead of an Aura component. If you're building something new, I'd always recommend going the LWC route and just using the Aura wrapper as the delivery vehicle. If you're doing complex work, you might also want to look into how communication between Lightning web components works so you can pass data back and forth effectively.
I've seen teams spend hours debugging why their component won't load, only to realize 'My Domain' wasn't deployed in the sandbox. Check that first. It's the most common point of failure for Lightning Out.
Troubleshooting your Lightning component in Visualforce
So what happens when things go wrong? And they will. The most common issue is the "white screen of death" where nothing loads. Usually, this is a permissions issue. Check your browser console. If you see 403 Forbidden errors, it's probably that access="GLOBAL" attribute we talked about earlier.
Another thing to watch for is CSS clashing. Visualforce has its own styles, and SLDS (Salesforce Lightning Design System) has its own. Sometimes they don't play nice. If your buttons look weird or your spacing is off, you might need to wrap your container in a <div class="slds-scope"> to make sure the Lightning styles stay where they belong. Using some Chrome extensions for Salesforce can help you inspect the DOM and see which styles are winning the fight.
Lastly, keep an eye on your session. If the user's session expires or if they're coming from a different domain, Lightning Out can get cranky. Make sure you're passing the correct site prefix or community URL if you're using this in an Experience Cloud site.
Key Takeaways
- My Domain is mandatory: Don't even try this without it being active.
- Global Access: Both the Aura app and the component need
access="GLOBAL". - The Wrapper App: You must use an Aura app extending
ltng:outAppas a container. - DOM Targets: Ensure the ID in your JavaScript matches the ID of your
div. - LWC works too: Just wrap your LWC in an Aura dependency and you're good to go.
Adding a Lightning component in Visualforce isn't as scary as it sounds. It's a solid, reliable way to modernize your UI without the risk of a total page rebuild. Just follow the boilerplate, watch your access levels, and you'll have modern components running on your old pages in no time. Give it a shot on your next project and see how much easier it makes your migration path.


Leave a Comment