If you’ve spent weeks building a beautiful public portal but nobody can find it on Google, you’ve probably missed a small but vital step. Usually, that step is setting up your Experience Cloud sitemap. I’ve seen plenty of teams launch sites and then wonder why their traffic is flat for months. Most of the time, the search bots just don’t know the pages exist yet.
Why an Experience Cloud sitemap is a non-negotiable
Look, search engines are smart, but they aren’t mind readers. An Experience Cloud sitemap acts like a GPS for Google’s crawlers. It tells them exactly which URLs are public, when they were last updated, and which ones are the most important. If you have a site with hundreds of help articles or a complex product catalog, you can’t just hope the bots find everything through internal links.
But it’s not just about discovery. A sitemap helps surface those “orphan” pages that might not have a lot of links pointing to them. It also speeds up how fast new content gets indexed. If you’re also setting up Google Analytics 4 to track your traffic, having a clean sitemap is the first step to making sure that traffic actually shows up.
The difference between XML and HTML sitemaps
I often get asked if a “Site Map” page on the footer is enough. The short answer? No. That’s an HTML sitemap, and it’s great for humans. But for SEO, you need the XML version. That’s the machine-readable file that lives in the background. Salesforce handles the heavy lifting of creating this file, but you still have to tell it to run.
You also need to keep an eye on your robots.txt file. This is a tiny text file that tells bots where they are allowed to go. Salesforce generates this automatically at your root domain. It usually includes a link to your sitemap so crawlers can find it without you doing much extra work.
How to generate your Experience Cloud sitemap
The good news is that you don’t need to be a developer to get this done. Everything happens right inside the Experience Builder. Here is how I usually walk my clients through the process:
- Open up your site in Experience Builder.
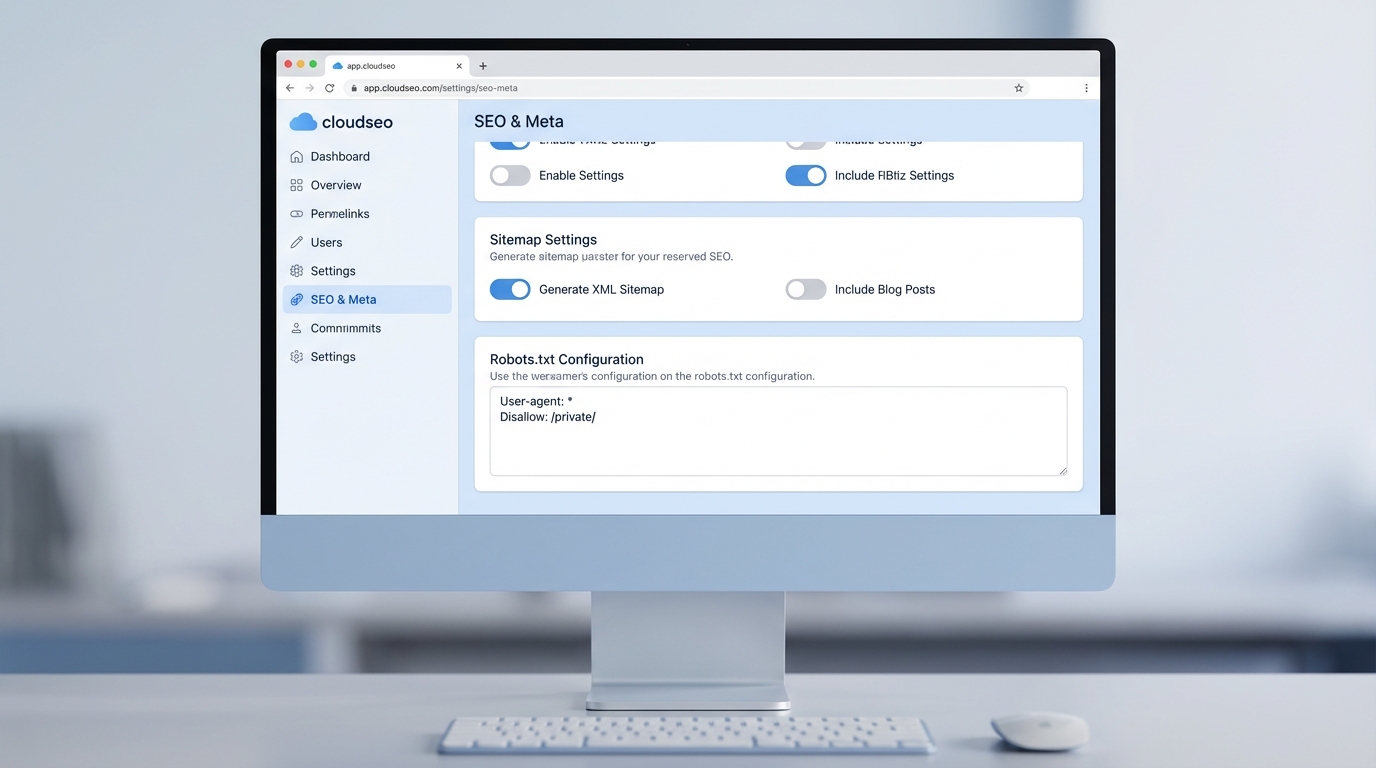
- Head over to Settings and then click on SEO.
- You’ll see a button that says Generate Sitemap. Give it a click.
- The status will change to In Progress. Depending on the size of your site, it might take a few minutes or a bit longer.
- Once it says Complete, go to your browser and type in your site URL followed by
/s/sitemap.xmlto see the results.
Now, don’t just stop there. Once you have that URL, take it over to Google Search Console and submit it. This is the fastest way to tell Google, “Hey, I’m open for business.” If you are working on a more complex deployment, like an Agentforce setup for Experience Cloud, ensuring your public-facing pages are indexed correctly is even more critical for your AI to have the right context.
One thing that trips people up: You can only manually generate a sitemap once every 24 hours. If you make a mistake and need to fix it, you’ll have to wait until the next day to hit that button again.
Keeping your sitemap healthy
Salesforce is pretty good about maintenance. It automatically refreshes the full sitemap every Sunday and picks up new pages every 24 hours. But here is the catch – if the user who originally published the site is deactivated (maybe they left the company), the automatic refresh might stop. I’ve seen sites with stale sitemaps for months because nobody realized the “owner” was an inactive user.
It’s also a smart move to run a manual generation after any major site overhaul or if you’ve just imported a few hundred new Knowledge articles. Just try to do it during off-peak hours so you don’t put unnecessary load on the system while people are actually trying to use the site.
Troubleshooting your Experience Cloud sitemap
If you’ve followed the steps and your sitemap looks empty or is missing pages, it’s usually a permissions issue. Here’s what you should check:
- Guest User Profile: If the guest user can’t see the record or the field, it won’t show up in the sitemap. This is the number one reason pages go missing.
- Private Pages: Remember, sitemaps are for public content. If a page requires a login, it won’t (and shouldn’t) be in your XML file.
- Broken Links: Use a tool like Screaming Frog to crawl your sitemap once it’s live. It’ll show you if you’re accidentally sending Google to 404 pages.
So, is it worth the effort? Absolutely. SEO isn’t some magic trick; it’s just about making it easy for search engines to do their job. Setting up a proper Experience Cloud sitemap is the easiest win you’ll get in that department.
Key Takeaways
- The Experience Cloud sitemap is essential for getting your public pages indexed by Google.
- Manual generation is available in Experience Builder under Settings > SEO.
- Salesforce refreshes the sitemap automatically every week, but only if the publishing user is active.
- Always verify your sitemap by visiting the
/s/sitemap.xmlpath on your domain. - Submit your sitemap URL to Google Search Console to speed up the indexing process.
At the end of the day, a sitemap is just one piece of the puzzle. But it’s the piece that ensures all your other hard work actually gets seen by the public. Go check your SEO settings today – it only takes five minutes, and it might be the reason your traffic isn’t where it needs to be.