
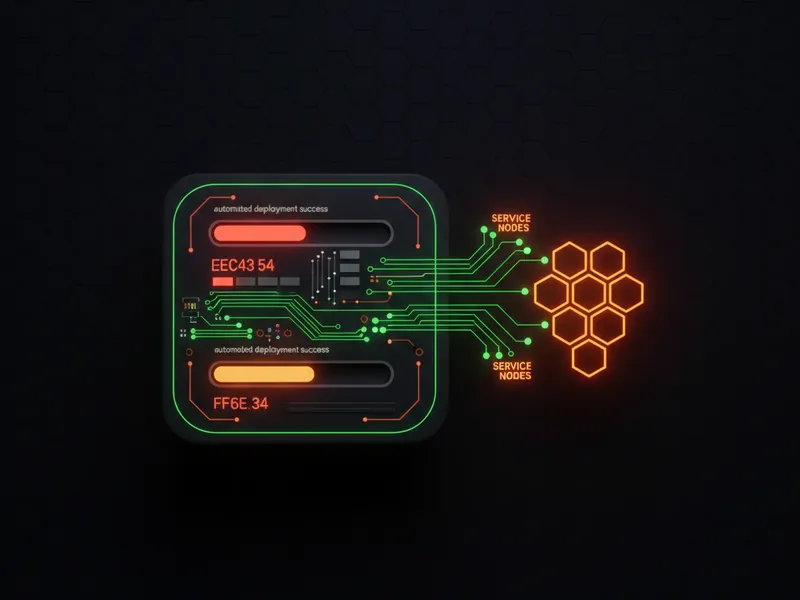
If you have been around the ecosystem for a while, you know that managing deployments can be a nightmare, but Salesforce unlocked packages have changed the way we handle internal development. I remember the first time I tried moving a complex app between orgs using nothing but change sets - it was a disaster of missing dependencies and manual clicks. Unlocked packages finally give us a way to bundle our code and metadata into something that actually feels like modern software engineering.
Why I switched to Salesforce unlocked packages
Look, the old way of doing things - what we call "Happy Soup" - just doesn't scale. When everything is tangled together in one big pile of metadata, you're always one deployment away from breaking something unrelated. Salesforce unlocked packages let you carve out specific features, like a custom billing engine or a specialized lead routing tool, and treat them as standalone units.
One thing that trips people up is the "unlocked" part. It means that even after you install the package, an admin can still go into the production org and make a quick fix if they really have to. But here is the catch: you should really be pushing those changes back to your source control. I've seen teams get lazy here, and it eventually leads to "configuration drift" where your code doesn't match what's actually running in the org.
How to build Salesforce unlocked packages without the headache
So how do you actually get started? It is not as scary as the documentation makes it look. You will need a Dev Hub enabled and the Salesforce CLI ready to go. Before you start, make sure you've thought about your Salesforce sandbox types for testing, because you'll want a clean environment to verify your versions.
1. Enable the Dev Hub
First, go to Setup and find the Dev Hub page. Flip the switch to enable it and make sure you also enable 2nd Generation Managed Packaging. This is a one-way street, so do this in your production org or a persistent business org.
2. Authenticate the CLI
Open your terminal. You need to tell the CLI which org is the boss. Run this command to log in:
sfdx force:auth:web:login -d -a DevHub
3. Create the package shell
Now you're going to define the package. This doesn't upload your code yet; it just tells the Dev Hub that this package exists. Here is the command I usually use:
sfdx force:package:create - name MyCoolApp - description "Internal Tools" - packagetype Unlocked - path force-app - nonamespace - targetdevhubusername DevHub
4. Versioning and installation
This is where the magic happens. You create a version, which is basically a snapshot of your code. You can choose whether to include Apex or just stick to declarative items, though most of us are using a mix. If you're debating whether to use code or automation for your package logic, check out my thoughts on Apex vs Flow to see what fits your modular design better.
sfdx force:package:version:create -p MyCoolApp -d force-app -k mypassword123 - wait 10 -v DevHub - codecoverage
Pro tip: Always use the - codecoverage flag for your final versions. Salesforce won't let you install an unlocked package in production if it hasn't met the 75 percent coverage requirement, and it's better to find that out now rather than during a midnight deployment.
Best practices for managing Salesforce unlocked packages
Honestly, most teams get this wrong by trying to put the entire org into one package. Don't do that. Start small. Pick a utility library or a small standalone app. It's much easier to manage dependencies when you aren't trying to boil the ocean.
- Source control is your source of truth: Never, ever treat the package as the backup. The code in Git is what matters.
- Watch your dependencies: If Package A needs an object from Package B, you have to define that in your sfdx-project.json file.
- Automate everything: Use GitHub Actions or GitLab CI to build your package versions automatically. It saves so much time.
- Use namespaces sparingly: For internal apps, you usually don't need a namespace. It just adds complexity you don't want.
If you're aiming for a lead role, being able to explain this architecture is a huge plus. I've included similar concepts in my guide on senior Salesforce developer interview questions because understanding packaging is what separates the juniors from the architects.
Key Takeaways
- Salesforce unlocked packages offer a middle ground between rigid managed packages and messy unmanaged ones.
- They allow for versioning, which makes rollbacks and upgrades significantly cleaner.
- You can still edit metadata in the destination org, but you should always sync those changes back to source control.
- Modular architecture reduces the risk of breaking the "Happy Soup" during deployments.
Using Salesforce unlocked packages might feel like a lot of overhead at first, but once you get your first CI/CD pipeline running, you'll never want to go back to change sets. Start with one small project, get the hang of the CLI commands, and build from there. It's a much more professional way to work, and your future self will thank you when deployment day becomes a non-event.


Leave a Comment