
The new Flow Approval Process update in Summer '25
Summer '25 is bringing a pretty cool update that lets you call a Flow Approval Process directly from another flow. Honestly, it's about time. I've seen so many teams struggle with messy workarounds just to trigger an approval without writing code. But now, we can keep all that logic right inside Flow Builder where it belongs.
Before this, if you wanted to start an approval from a flow, you'd usually have to reach for Apex or some tricky platform events. It worked, but it wasn't exactly clean. Now, we have a dedicated Action element for this. It's much simpler to manage, especially if you're trying to decide between Apex vs Flow for your automation strategy.
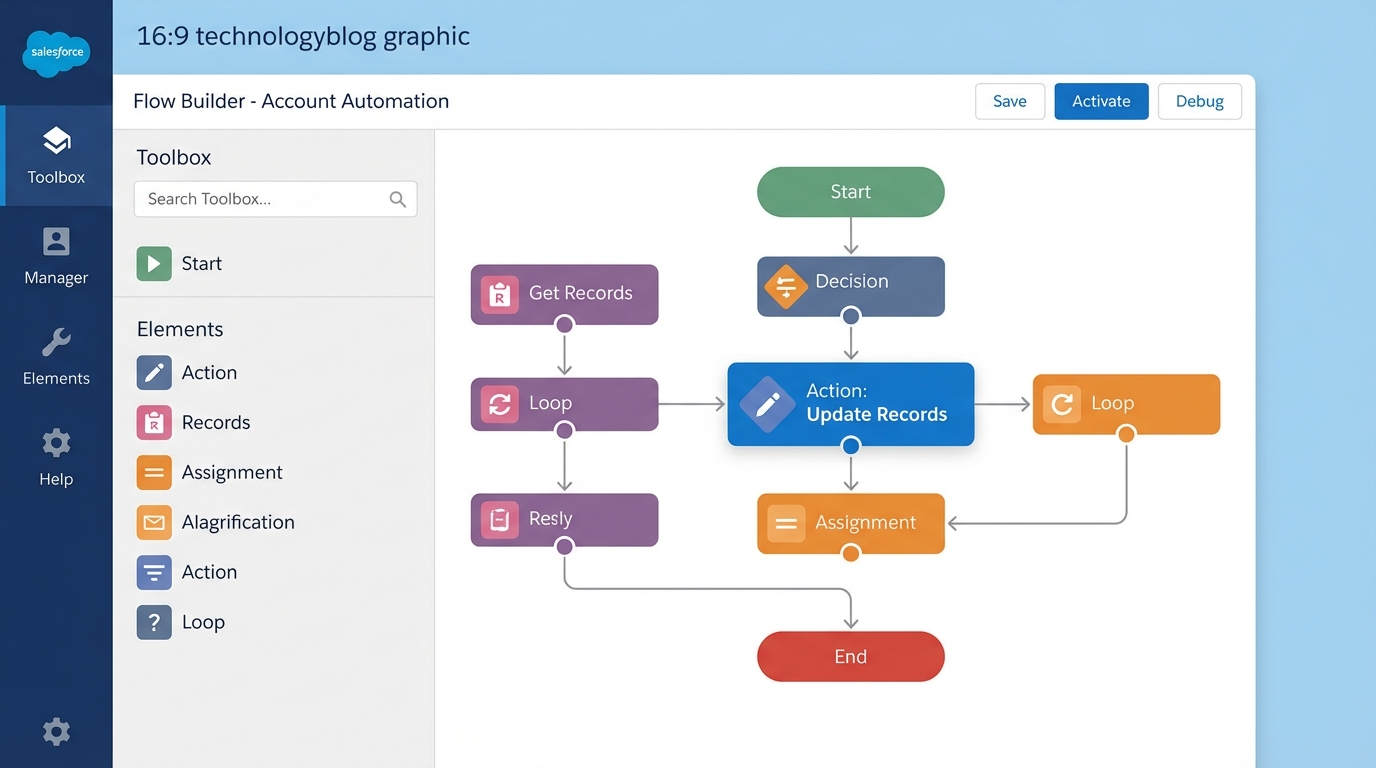
A realistic mockup of the Salesforce Flow Builder interface showing a workflow diagram with a highlighted Action element.
Setting up your first Flow Approval Process action
The setup is pretty straightforward. You'll need an autolaunched flow to act as the "caller" and an active autolaunched Flow Approval Process to be the "target". When you add the Action element in your flow, you just search for the name of your approval process and pass in the record ID. It's that easy.
I've worked on projects where we had complex order approvals that changed based on the region or the discount percentage. In the past, that meant a lot of branching logic or multiple Apex triggers. With this update, you can build a single orchestrator flow that looks at the record data and then picks exactly which Flow Approval Process to fire off.
How to get it running
- First, make sure your autolaunched Flow Approval Process is active. You can't call it if it's still in draft mode.
- Open your main flow and drop in an Action element.
- Search for your approval process by name.
- Map your variables. You'll usually just need the
recordId, but you can pass in comments or other custom inputs too. - Don't forget to add a fault path. If the approval fails to start because of entry criteria, your flow will crash without one.
One thing that trips people up: the approval process must be the "autolaunched" type. If you try to call a standard legacy approval process this way, it won't show up in the list. Stick to the new Flow-based approvals to make this work.
Why the Flow Approval Process update matters for admins
So why does this matter? The short answer is maintenance. When you use code to trigger approvals, you're creating a black box that other admins might not understand. By using a Flow Approval Process, everything is visual. If the business logic changes, you just update the flow. No deployment packages or unit tests required for a simple logic tweak.
And here's the thing: this also helps with mastering the Apex approval process concepts without actually needing to write the code. You get the same power but with a lot less overhead. I've seen teams save hours of dev time just by moving these types of triggers into Flow.
Real-world use cases
- Dynamic Routing: You can use a decision element to check a field and then call a specific Flow Approval Process for high-value accounts.
- Custom Buttons: Build a Screen Flow that gathers some notes from a user and then kicks off the approval process in the background.
- Error Handling: You can finally show a user-friendly message if an approval fails to start, instead of that generic "unhandled fault" red text.
Key Takeaways
- Summer '25 lets you call an autolaunched Flow Approval Process directly from the Flow Action element.
- It removes the need for Apex workarounds or platform events to trigger approvals.
- You can pass custom variables like comments or record IDs directly into the approval.
- Always use fault paths to handle cases where entry criteria aren't met.
Look, this isn't just another minor update. It's a big step toward making Flow a true "one-stop shop" for business logic. If you've been putting off moving your approvals into Flow, now is the time to start. It's cleaner, faster to build, and way easier to fix when things go wrong. Give it a shot in your next sandbox refresh and see how much code you can delete.


Leave a Comment