Look, we’ve all been there. You’re trying to keep your data clean, but Salesforce validation rules can quickly become a nightmare to manage if you’re doing it all through the standard UI. One minute you’re just trying to make sure a field isn’t blank, and the next, you’re drowning in a sea of “Stage cannot be changed” and “Discount requires approval” logic.
Why Salesforce validation rules are your best friend (and worst enemy)
In my experience, these rules are the first line of defense for any decent org. They stop bad data before it even hits the database. But here’s the thing: they can also be a massive pain for your users if they aren’t handled right. I’ve seen teams get so aggressive with validation that users just start putting “N/A” or “12345” in every field just to save the record. That’s exactly what we’re trying to avoid.
How the logic actually works
It’s pretty straightforward. You define a formula, and if that formula evaluates to “True,” Salesforce blocks the save. It sounds counterintuitive – you’re writing a formula for the error, not the success. For example, if you want to require a specific Salesforce validation rule for Customer ID formatting, your formula needs to look for the “wrong” format to trigger the block.
Real-world examples I see all the time
- Status lock-down: Preventing a closed Case from being reopened by anyone except a manager.
- Conditional requirements: Making “Loss Reason” mandatory only when the Opportunity stage moves to “Closed Lost.”
- Format enforcement: Ensuring phone numbers or postal codes follow a specific pattern so your integrations don’t break.
- Logic checks: Blocking a “Close Date” that’s set in the past for new deals.
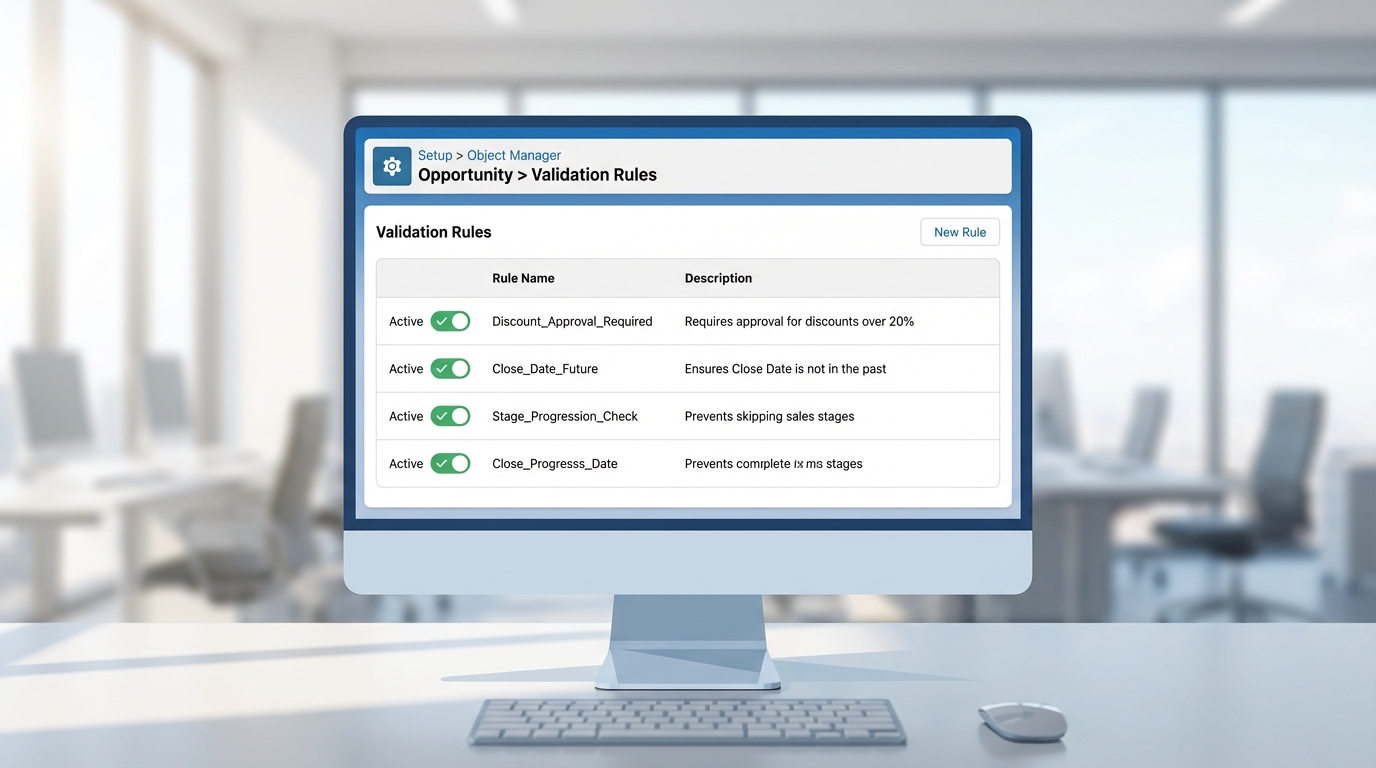
Managing Salesforce validation rules at scale with XL-Connector
Now, if you’re managing five or ten rules, the Setup menu is fine. But what happens when you’re doing a massive data migration or a complete process overhaul? Clicking through ten different screens for every single rule is a soul-crushing waste of time. This is where using a tool like XL-Connector changes the game.
Instead of the “click-wait-click” routine in the browser, you can pull all your metadata into Excel. It lets you see every rule on one screen. I’ve used this to build out fifty rules in a single afternoon for a client rollout. You just list them out in the spreadsheet and push them to Salesforce in one go. It’s much faster and, honestly, a lot less prone to typos.
- Bulk Updates: Need to change the error message on twenty different rules? Do it in Excel and hit save.
- Auditing: It’s way easier to spot redundant or conflicting rules when they’re side-by-side in a table.
- Migration: You can pull rules from a sandbox and push them straight to production without messing with change sets for every minor tweak.
Pro tip: Always keep a backup of your validation formulas in a spreadsheet. I can’t tell you how many times I’ve seen an admin “fix” a formula only to realize they broke three other things and needed to revert immediately.
A practical checklist for testing your rules
Don’t just activate a rule and hope for the best. That’s a great way to get an angry Slack message from the Sales VP at 4:00 PM on a Friday. You need a testing plan. Remember that clarity is the admin’s most valuable contribution, so make sure your error messages actually help the user fix the problem.
- Test with a user profile that isn’t a System Admin. We usually bypass everything, so we’re bad test subjects.
- Try to “break” the rule by entering edge-case data.
- Check if the rule interferes with your automated Flows or Apex triggers.
- Verify the error message appears next to the right field, not just at the top of the page.
- Bulk test! Upload 10 records via Data Loader to make sure the rule doesn’t cause a timeout.
Best practices for long-term sanity
Keep your formulas simple. If a formula is 50 lines long, it’s probably better off as an Apex trigger or at least broken down into smaller pieces. Also, use the “Description” field in Setup. Future you will thank you when you’re trying to remember why you added a specific restriction three years ago.
- Use a naming convention so you can group rules by department or function.
- Avoid hardcoding IDs in your formulas. Use Developer Names or Custom Permissions instead.
- Keep the error messages helpful. “Error: Invalid” is useless. “Please enter a 10-digit tax ID” is helpful.
Key Takeaways
- Salesforce validation rules are essential for data quality but need careful management.
- Use Excel-based tools like XL-Connector to handle bulk creations and updates to save hours of manual work.
- Always test as a standard user to ensure you aren’t blocking legitimate business processes.
- Keep your logic modular and your error messages actionable.
At the end of the day, your goal is to make the right way the easy way for your users. Well-built rules don’t just stop bad data; they guide people through the process. By using tools to manage the “admin heavy lifting” and sticking to a solid testing routine, you’ll spend less time fixing data and more time actually building things that help the business grow.