
Why Salesforce Flow testing is your best friend
We've all been there. You build a killer automation, hit activate, and then the emails start rolling in because you accidentally broke a validation rule or ignored a weird edge case. That's why Salesforce Flow testing isn't just a "nice to have" - it's what keeps you from spending your weekend fixing corrupted data or explaining to your boss why the sales team can't close opportunities. In my experience, the hour you spend testing now saves you ten hours of cleanup later.
Look, I know we're all busy and the pressure to deploy is real. But here's the thing: a Flow that hasn't been put through its paces is a ticking time bomb. Whether it's a simple screen flow or a complex record-triggered beast, you need a strategy that goes beyond just clicking the "Debug" button once and calling it a day.
Choose the right playground
Don't even think about testing in production. I've seen teams try to "test" by using a single test record in prod, and it almost always ends in tears. You need a safe space to fail. Most of the time, a Developer Sandbox is fine for the early stages. But when you're getting serious, you'll want a Partial or Full Copy sandbox to see how your logic plays with actual data. If you're not sure which one to use, check out this guide on choosing the right sandbox for your project.
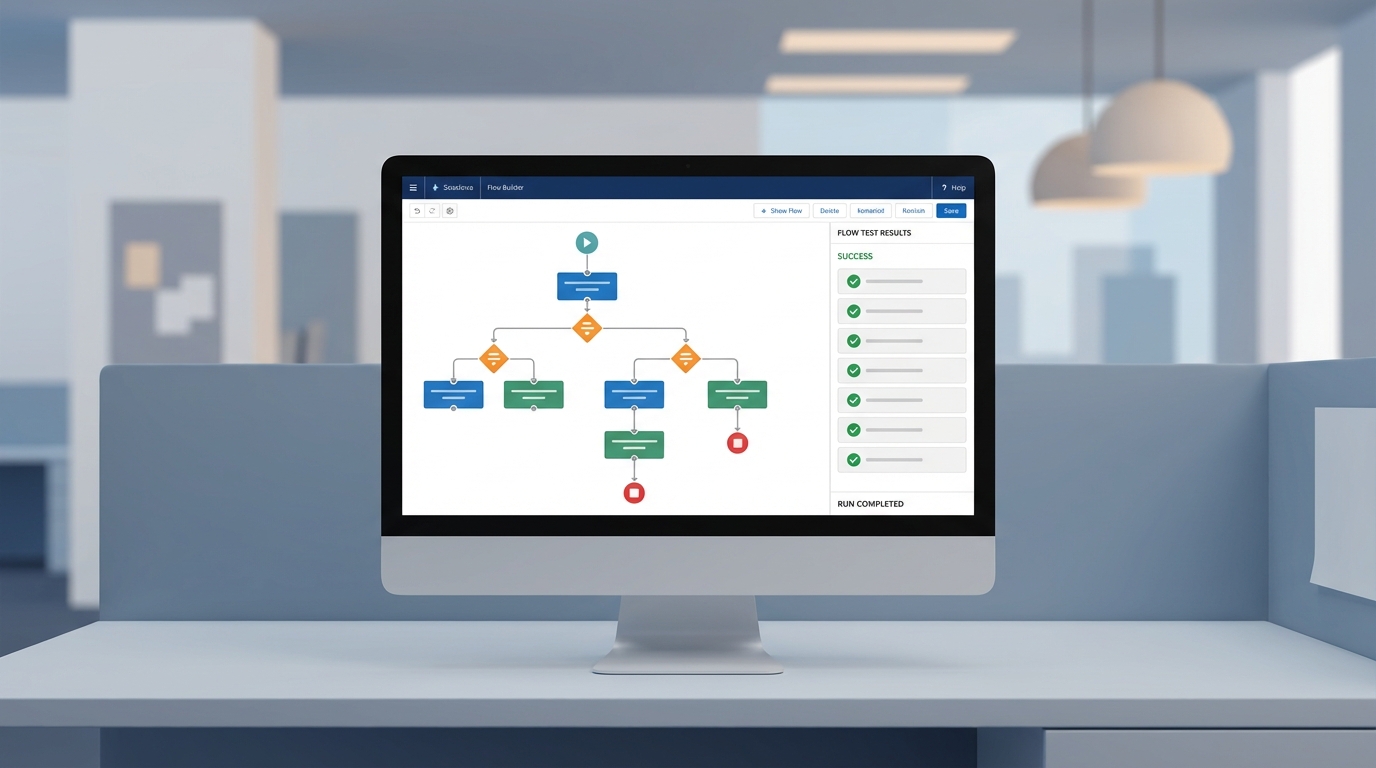
A professional visualization of the Salesforce Flow Builder interface showing a complex automation workflow and testing status panels.
A practical roadmap for Salesforce Flow testing
So, how do you actually do this without losing your mind? I like to follow a systematic approach that starts small and gets progressively more intense. It's about building layers of confidence. Here's how I handle the standard Salesforce Flow testing process when I'm working on a client project.
1. Lean on the Debug tool first
The built-in Debug button in Flow Builder is your first line of defense. It's great because it shows you exactly which path the Flow took and what the variable values were at every step. I always run it once for the "happy path" and then several more times trying to break it. What happens if a field is null? What if the user picks an unexpected option? The debug logs will tell you the truth.
2. Test with real-world data scenarios
Once the logic looks okay in the builder, it's time to move into the sandbox UI. Create records that look like what your users actually deal with. Don't just use "Test Account A" and "Test Account B". Use records with different record types, weird picklist combinations, and missing data. This is how you find those pesky validation rule conflicts that the Debug tool might miss. Ensuring Salesforce Flow data integrity means testing against the messiness of real data.
"I've learned the hard way that if you don't test your Flow with at least 200 records, you haven't actually tested it for production. Bulk testing is where most flows fall apart."
3. Don't skip the bulk test
This is probably the most overlooked part of Salesforce Flow testing. Your Flow might work perfectly for one record, but what happens when a Data Loader job hits it with 200 records at once? If you haven't built your Flow to handle collections properly, you're going to hit governor limits fast. I always recommend doing a small data load in your sandbox to make sure you've mastered bulkification best practices before you go live.
4. Break it on purpose with Fault Paths
What happens when things go wrong? Because they will. If a DML operation fails, does the user just see a generic "Unhandle Fault" screen? That's a terrible experience. I like to add Fault connectors to my elements and then intentionally trigger an error - like trying to update a record that's locked. This lets me verify that my error handling actually works and sends the right notifications to the admin team.
5. Get a second pair of eyes
The final step in Salesforce Flow testing should always involve someone who didn't build it. Peer reviews are great for catching logic gaps you're too close to see. After that, bring in a few "power users" for UAT (User Acceptance Testing). They'll use the Flow in ways you never imagined, and they'll find the UI quirks that make it hard to use. It's better to hear their complaints in a sandbox than on a Monday morning after a big release.
Key Takeaways
- Always start with the Flow Builder's Debug tool to trace your logic paths.
- Test in a sandbox using data that mimics the complexity of your production environment.
- Never skip bulk testing; use a data loader to trigger the Flow with 200+ records.
- Build and test Fault Paths to ensure your Flow fails gracefully.
- Get real users involved in UAT to catch usability issues before deployment.
At the end of the day, testing is about sleep. The more you test in your sandbox, the better you'll sleep on the night of your deployment. It's not about being perfect; it's about being prepared for the weird things that happen in a live Salesforce org. So, take the extra time, run those bulk tests, and make sure your error handling is solid. Your future self will thank you.


Leave a Comment