
Mastering Salesforce CPQ Filter Rules for Dynamic Bundles
If you've spent any time in the Quote Line Editor, you know that Salesforce CPQ Filter Rules are a total lifesaver for managing complex product catalogs. I've seen teams try to hard-code every single product option into a bundle, and honestly, it's a maintenance nightmare. Every time a new SKU is added, someone has to go back and manually update the bundle. Nobody has time for that.
Using a dynamic bundle approach changes the game. Instead of a fixed list, you're telling Salesforce to go find the products that match your criteria on the fly. It keeps the UI clean for your reps and makes your life as an admin much easier. In my experience, this is the most effective way to handle catalogs that change frequently.
But before we get into the setup, let's look at why you'd even bother with this. Static bundles are fine for a "Laptop Kit" where the parts never change. But what if you have a "Premium Service Bundle" where any product with "Service" in the name should be an option? That's where Salesforce CPQ Filter Rules shine.
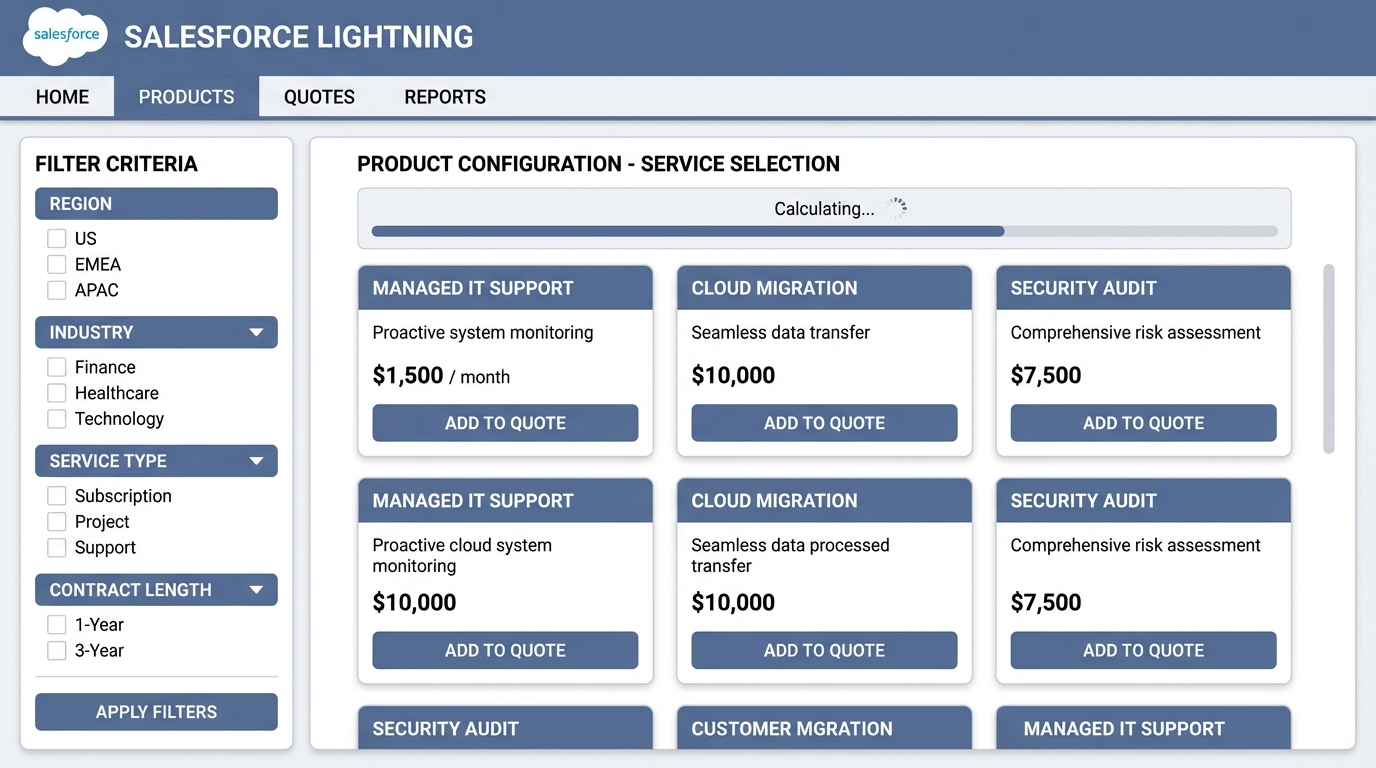
A realistic UI mockup of a Salesforce CPQ product selection screen showing dynamic filtering for product bundle options.
Why You Should Stop Hard-Coding Bundle Options
Here's the thing: hard-coded options don't scale. If your company launches five new services next month, you'll have to manually add those options to every relevant bundle. If you miss one, your reps can't sell it. It's a recipe for data inconsistency and frustrated sales people.
When you use dynamic selection, you're essentially creating a search filter that lives inside the bundle. It's flexible, it's fast, and it's much more professional. Plus, it reduces the risk of someone picking an outdated product that shouldn't be there anymore.
I once worked on a project with over 500 service SKUs. Trying to manage those as individual Product Options would have been impossible. We switched to dynamic filters, and the maintenance time dropped to almost zero because the rules handled everything automatically.
You should also think about the user experience. A rep doesn't want to scroll through a list of 50 irrelevant items. They want to see what's actually available for the specific deal they're working on. You might even want to test these configurations in a proper sandbox environment before pushing them live to avoid messing up the sales flow.
Step-by-Step: Setting Up Salesforce CPQ Filter Rules
Let's get our hands dirty. We're going to build a bundle that automatically pulls in any product where the Product Code contains the word "Service". It's a classic use case that you'll run into eventually.
1. Create the Parent Bundle
First, you need the "container" product. Let's call it "T-Mobile Premium Services". Make sure it's active and has a product code like TMP001. This is the product the rep will actually add to the quote.
2. Set Up the Dynamic Feature
Go to the Related List on your bundle product and create a new Product Feature. This is the "bucket" where the dynamic options will sit. Here's the catch: you MUST set the Option Selection Method to Dynamic. If you leave it as "Click", this whole thing won't work. Set your Min/Max options so the rep knows how many they can pick.
3. Build the Filter Product Rule
Now we create the logic. Create a new Product Rule and give it a clear name. For the Type, select Filter. Set the Scope to Product and the Evaluation Event to Always. This ensures the rule is checking the catalog every time the rep opens the configuration page.
4. Define the Product Action
This is where you tell the rule what to look for. In the Product Actions related list, create a new record. Set the Type to Default Filter. We want to filter by Product Code using the Contains operator. For the Filter Value, just type "Service".
5. Tie It All Together
The last step is the Configuration Rule. This links your Product Rule to the specific Bundle and Feature you created earlier. Without this link, Salesforce has no idea where to apply your logic. Once this is saved, your Salesforce CPQ Filter Rules are ready for a test drive.
Default vs Optional Filters: What's the Difference?
This is one thing that trips people up all the time. When you're setting up the Product Action, you'll see a choice between a Default Filter and an Optional Filter. So what does this actually mean?
- Default Filter: This is the "always on" logic. It applies the filter immediately. If you want the rep to only see services by default, use this.
- Optional Filter: This is more like a suggested starting point. It's only applied if the conditions are met, but it's generally more flexible.
In most real-world scenarios, you'll stick with the Default Filter. It's more predictable and ensures the rep stays within the guardrails you've built. If you find yourself needing much more complex logic, you might start asking if Apex or Flow is a better fit, but for simple product filtering, CPQ rules are almost always the right tool.
Key Takeaways for Salesforce CPQ Filter Rules
- Standardize your naming conventions. If you want to filter by "Service", make sure your Product Codes actually include that word consistently.
- Always set the Option Selection Method to Dynamic on the Feature record.
- Use the "Always" evaluation event so the list stays fresh.
- Document your filters. Six months from now, you won't remember why a certain product is showing up in a bundle.
- Test the rep's experience. If the filter is too broad, they'll still be overwhelmed with options.
Look, setting up Salesforce CPQ Filter Rules isn't rocket science, but it does require you to be intentional about your data. If your product catalog is a mess, your rules will be a mess too. Take the time to clean up your SKUs first, and then let the automation do the heavy lifting. Your sales team will thank you for the cleaner UI, and you'll thank yourself when you don't have to spend your Friday nights updating product options manually.


Leave a Comment