
What exactly is a Salesforce Connected App?
If you've ever had to link an external system to your org, you've definitely encountered the Salesforce Connected App. Think of it as a digital ID card for external software. It's the framework that allows an outside application - whether it's a mobile app, a middleware tool, or a custom web portal - to talk to Salesforce without compromising security. I've seen plenty of developers treat this as just a place to grab a Client ID, but it's actually your main control panel for integration security.
At its core, a Salesforce Connected App uses the OAuth protocol to handle the handshake between systems. Instead of handing over a username and password (which you should never do), the external app presents its credentials to the Connected App. If everything checks out, Salesforce hands back a token that says, "Okay, you're allowed to see this specific data for this amount of time." It's clean, it's secure, and it's how modern Salesforce API Integration should always be handled.
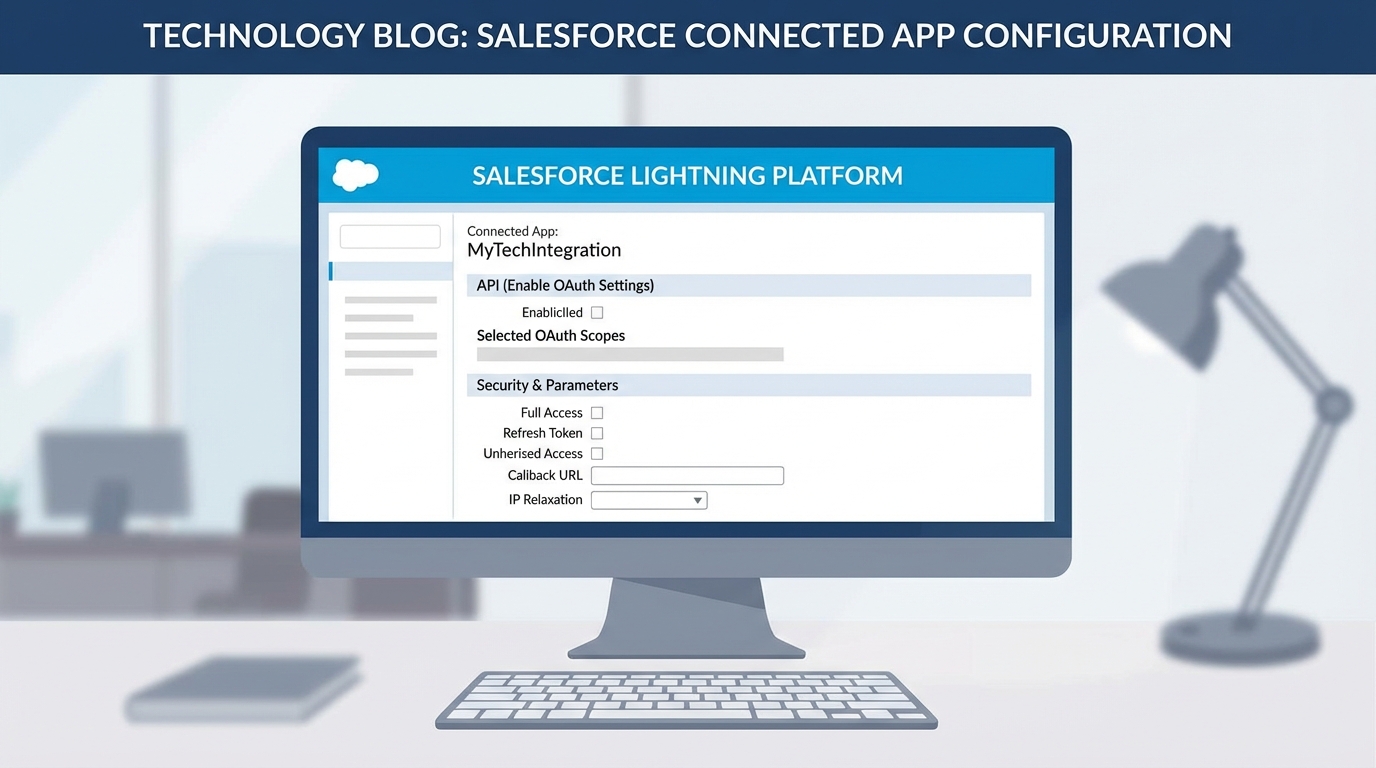
A realistic UI mockup of the Salesforce Connected App configuration screen showing OAuth settings and API security permissions.
How a Salesforce Connected App Actually Works
When you build one of these, you're basically defining the rules of engagement. You're telling Salesforce which apps are allowed to knock on the door and what they're allowed to do once they get inside. In my experience, the biggest mistake people make is being too vague with their settings. They'll give an app "Full Access" when it only needs to read a few records. That's a huge security risk you don't want to take.
Here are the parts you'll deal with every single time:
- Consumer Key: This is the public identifier. It's like a username for the app itself.
- Consumer Secret: This is the password for the app. Keep this locked down. If this gets out, anyone can pretend to be your application.
- Callback URL: This is where Salesforce sends the user after they log in. Even if you're doing a server-to-server integration, Salesforce usually wants a placeholder here.
- OAuth Scopes: These are the specific permissions. Do you just need API access? Or do you need to manage the user's identity too? Only check what you actually need.
One thing that trips people up is the Callback URL. Even if your app doesn't technically "redirect" anywhere, Salesforce needs that placeholder to complete the OAuth handshake. I usually just use a localhost address or the app's main URL if I'm stuck.
Choosing the Right Flow for Your Salesforce Connected App
Now, this is where it gets interesting. Not every integration is built the same way. The "flow" you choose depends entirely on what's talking to Salesforce. If you have a web app where a user is sitting at a screen, you'll use the Authorization Code Grant. But what if it's a backend service with no human involved? That's a different story.
For those server-to-server jobs, I always recommend the Salesforce JWT flow. It's a bit more work to set up because you need a digital certificate, but it's the gold standard for security. It lets the system log in automatically without someone having to type in a password every time a token expires. Honestly, most teams get this wrong and try to use the Username-Password flow because it's easier. Don't do that. It's less secure and it'll cause headaches when you eventually turn on Multi-Factor Authentication (MFA).
If you're testing these flows or trying to debug why a connection isn't working, there are some great Salesforce Chrome extensions that can help you inspect headers and see exactly what's happening during the login process. It beats guessing every time.
Securing Your Salesforce Connected App
Look, creating the app is the easy part. Managing it is where the real work happens. Once the app is live, you can go into the "Manage Connected Apps" section to see who is actually using it. You can set IP relaxations, enforce session timeouts, and even revoke access for specific users if something looks fishy. This is probably the most overlooked feature in the whole setup. You have the power to kill a connection instantly if you see unauthorized traffic.
But here's a pro tip: always check your "Permitted Users" policy. If it's set to "All users may self-authorize," anyone in your org could potentially link that app to their account. For sensitive integrations, I always change this to "Admin approved users are pre-authorized." This gives you total control via Profiles or Permission Sets. It's just a safer way to live.
Key Takeaways
- A Salesforce Connected App is the secure gateway for any external system trying to access your data.
- Always follow the principle of least privilege - only grant the OAuth scopes that the application absolutely needs to function.
- Use the JWT Bearer flow for backend integrations to avoid the security risks of the Username-Password flow.
- Keep your Consumer Secret and certificates secure; rotate them regularly to keep the bad guys out.
- Monitor the "OAuth Connected Apps Usage" page to see exactly who is connecting and when.
Setting up a Salesforce Connected App isn't just a checkbox on a project list. It's the foundation of your integration's security. Take the extra ten minutes to get your scopes right and pick the correct OAuth flow from the start. Your future self will thank you when you don't have to deal with a security audit or a broken connection because of a password change. Just keep it simple, keep it secure, and always test your flows in a sandbox first.


Leave a Comment