


Why Salesforce email approval is a win for your users
Salesforce email approval allows stakeholders to approve or reject records by replying directly to notification emails without logging into the application. You can activate this feature by checking Enable Email Approval Response under Process Automation Settings in Setup and ensuring your org-wide email addresses are verified. Once configured, approvers only need to type a recognized keyword—such as Approve or Reject—on the very first line of their response email.
I've seen teams where adoption doubled just because the managers didn't have to deal with the login screen anymore. It's a small change, but honestly, it's one of those quick wins that makes you look like a hero to the business.
Configuring Salesforce email approval step-by-step
First, you need to flip the switch in the backend. Head over to Process Automation Settings in Setup. You'll see a checkbox that says "Enable Email Approval Response" or something very similar. Check it and save. But don't stop there. You also need to make sure your Org-Wide Email Addresses are verified. If Salesforce can't send the email from a real, confirmed address, the reply won't know where to go.
Next, you've got to look at your email templates. This is where most people mess up. If your template is just a wall of text, your approvers won't know what to do. Use a clear Lightning or Classic template that spells out their options. I usually put something like "Reply with APPROVE or REJECT on the first line" right at the top in bold.
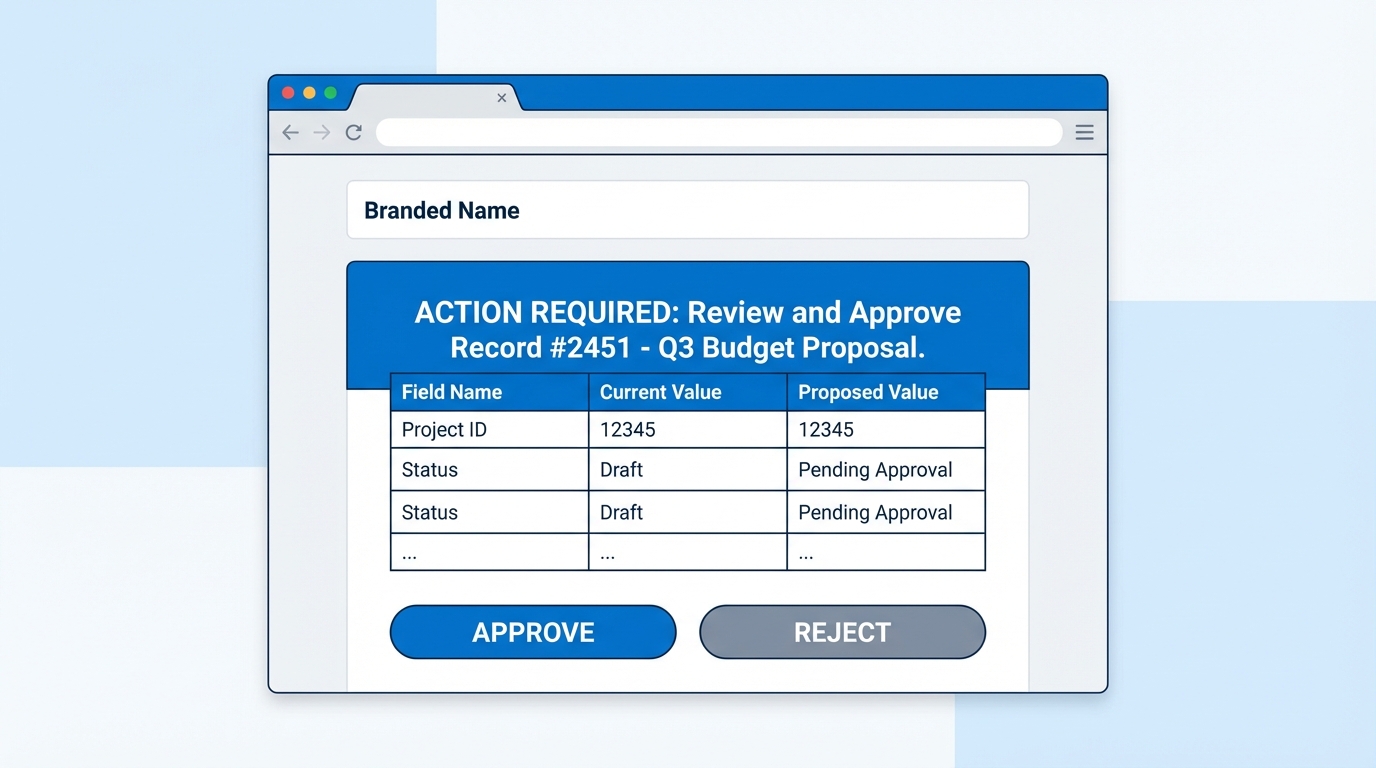
A realistic mockup of a Salesforce approval email template with a clear instructional header and record details.
The keywords that actually work
Salesforce is pretty forgiving about what people type in their approval replies. It's not case-sensitive, so "approve" and "APPROVE" both work fine. Here are the common ones the system recognizes:
- To approve: Approve, Approved, Yes, Accept, Accepted.
- To reject: Reject, Rejected, No, Deny, Decline.
The catch is that people have messy email signatures. I've seen a signature with a quote containing the word "Yes" accidentally trigger an approval. That's why I always tell users to put their response on the very first line and nothing else. It keeps the parser from getting confused by the "Thanks, John" at the bottom of the mail.
Best practices from the field
One thing that trips people up is the reply-to address. Salesforce generates a long, ugly string for it. Don't worry about that; it's how the system knows exactly which record and which approval step it's looking at. Just make sure your security settings aren't stripping those out or marking them as spam.
If you're dealing with something more intense than a simple thumbs up or down, you might want to look into mastering the Apex approval process for those complex logic scenarios. Sometimes the out-of-the-box email handler isn't enough if you need to update five other records at the same time.
Always include the record name and a direct link in the email template. Even if they're replying via email, they might need to see the full context before they hit send.
Also, don't forget to test this in a sandbox first. Send a test approval to yourself, reply from your phone, and see if it actually updates the record. Check the Approval History related list on the record to confirm it shows "Approved via Email" or whatever status you've set. If you run into issues, Salesforce Flow error handling can be a lifesaver if you're triggering other automations off that approval.
Key takeaways
- Enable the setting in Process Automation Settings before you do anything else.
- Stick to simple keywords like Approve or Reject to avoid mistakes.
- Always tell your users to put the keyword on the first line of the email.
- Verify your Org-Wide Email Addresses or the replies will bounce.
- Include a link to the record just in case they need more info.
Setting up Salesforce email approval isn't hard, but it does take a bit of attention to detail. Once it's live, your users will thank you for not making them log in for every tiny decision.


Leave a Comment