


Ever wondered why you can't just change a record's creation date? Those system-managed timestamps are the Salesforce audit fields, and they tell you who touched a record and when. If you have ever done a data migration, you know how frustrating it is when your legacy data suddenly looks like it was all created "today" by "Admin User."
What exactly are Salesforce audit fields?
These fields record the "who" and the "when" for every insert and update. By default they are strictly read-only, because Salesforce relies on them for data integrity and compliance. You will see them on almost every object, and they usually include:
- CreatedById: the user who first hit save.
- CreatedDate: the exact moment the record was born.
- LastModifiedById: the person who last tweaked the data.
- LastModifiedDate: when that last change happened.
- SystemModstamp: this one is purely for the system, used for things like search indexing and replication.
You can see these fields in a report or on a page layout, but you can't touch them through a standard edit. So what happens when you're moving five years of history from an old SQL database into a fresh org? You don't want every record to show today's date.
How to enable Salesforce audit fields for migrations
If you're planning a big move, you'll need to bypass the standard read-only rules. In the past, you had to open a support case and practically beg for permission. Thankfully, Salesforce made it easier. You can now enable a setting called "Set Audit Fields upon Record Creation" directly in your User Management Settings.
Once you flip that switch, you can assign the "Set Audit Fields" permission to your migration user via a permission set. But don't leave this on for everyone. I've seen teams leave it enabled for regular users, and it's a recipe for data chaos. Keep it locked down to your service account or migration lead.
The catch with inactive owners
One thing that trips people up during migrations is trying to map records to users who no longer work at the company. If you try to set a CreatedById to an inactive user, the system will throw an error. You'll need to enable another setting called "Update Records with Inactive Owners" to make this work. I've written a more detailed guide on assigning records to inactive users if you're stuck on that specific hurdle.
Practical tips for your data migration
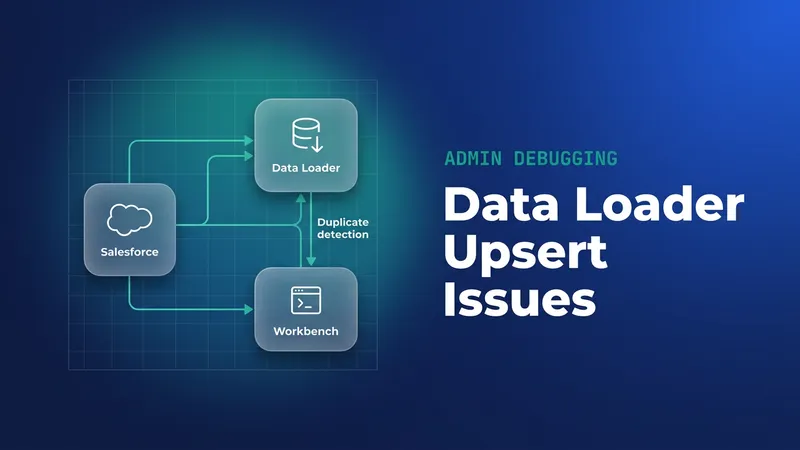
When you're ready to start pushing data, you'll need to use the API. Data Loader, Workbench and the Bulk API all do the job. A REST payload that sets audit fields looks like this:
POST /services/data/v60.0/sobjects/Account/
{
  "Name": "Legacy Client Corp",
  "CreatedDate": "2018-05-20T09:00:00.000Z",
  "CreatedById": "005XXXXXXXXXXXXXXX"
}
There is a limit to what you can do, though. Even with the special permissions, you can't update these fields on existing records. This only works during the initial insert. If you've already loaded 50,000 records and forgot to set the dates, you're looking at a delete-and-reload scenario. Trust me, I've been there, and it isn't fun.
Pro Tip: Always run a small test batch of 10 records in a sandbox first. Check the timestamps in a SOQL query to make sure the time zones didn't get mangled during the CSV export.
Best practices for data integrity
If you're in a regulated industry like finance or healthcare, your auditors will care deeply about these dates. If you're also dealing with heavy automation, it's worth checking how Salesforce Flow handles data integrity so your migration doesn't trigger a pile of unwanted emails or tasks.
- Use a dedicated migration user, not your own admin account. It makes it far easier to work out later which records came in with the import.
- Watch your time zones. Salesforce stores everything in UTC. If your source data is in EST, you'll need to do the math before you upload.
- Document the "why". If an auditor asks why a record says it was created in 2015 but the org didn't exist until 2024, you'll want a paper trail.
Key takeaways
- Salesforce audit fields are system-managed and read-only by default, for compliance.
- You can enable the ability to set these fields for migrations through User Management Settings.
- You can only set audit fields during record creation, not on updates.
- Always use a sandbox to test your CSV headers and date formats before hitting production.
Audit fields exist to protect the truth of your data. Use the "Set Audit Fields" feature when a migration genuinely needs it, but treat it like a power tool: use it carefully and put it away when you're done. If you can't enable it for some reason, your fallback is creating custom "Legacy Created Date" fields, but that usually just clutters up your schema. Do it the right way if you can.


Leave a Comment