


Why Salesforce bucket fields are a lifesaver
Ever been asked to group opportunities by "Small," "Medium," and "Large" only to realize there is no size field on the record? It happens all the time. Instead of waiting for a developer to write code or an admin to add a picklist, you can use Salesforce bucket fields to categorize your data right inside the report builder.
I've watched teams waste hours exporting to Excel just to group rows by hand. Salesforce bucket fields create those categories on the fly. They don't change your actual data, and they don't show up on the page layout. They live in your report and make your charts and summaries a lot cleaner.
What exactly is a bucket field?
Think of a bucket field as a "virtual" field. You take a pile of values (50 different lead sources, say, or a range of dollar amounts) and toss them into a few labeled buckets. It is a report-level feature, which makes it good for ad-hoc analysis. If you are still learning the ropes of Salesforce report types, this is one of the more useful tools to keep in your back pocket.
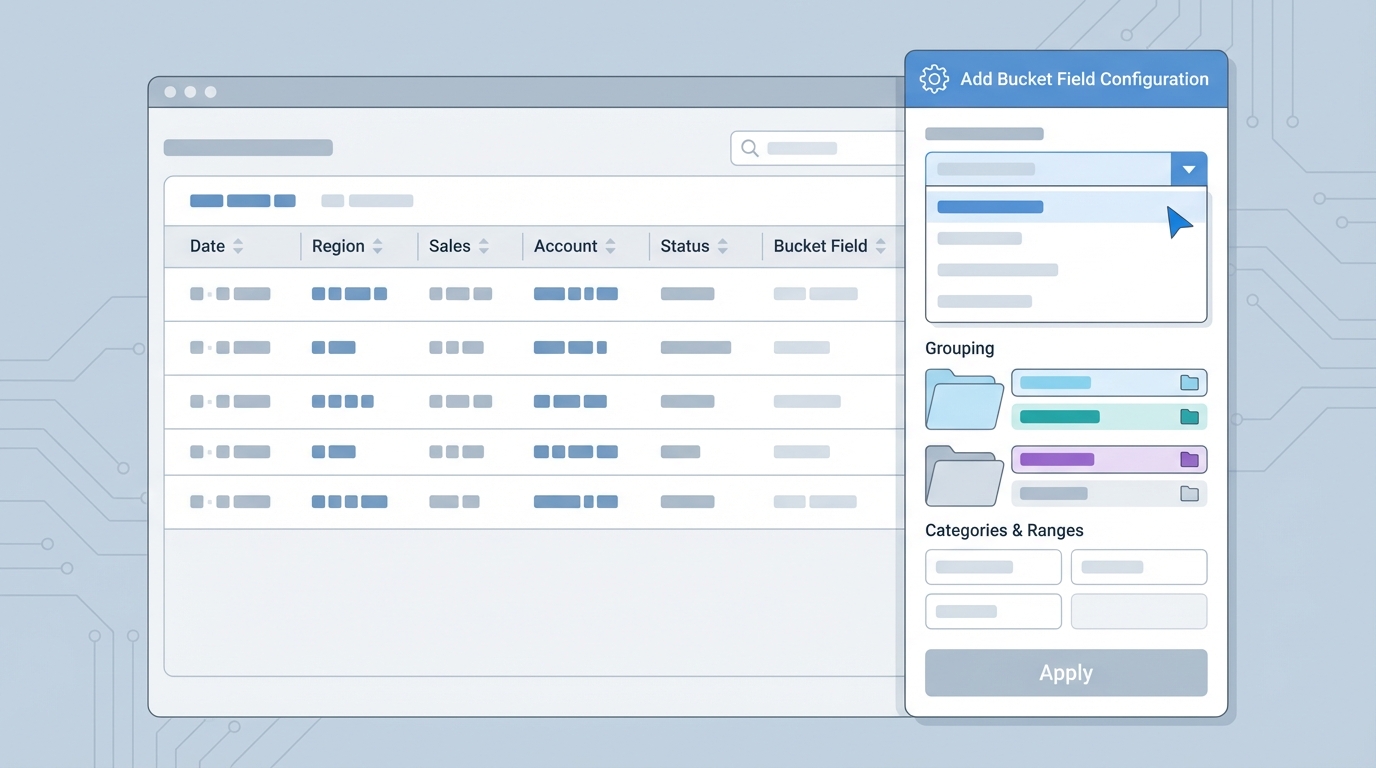
Bucketing happens in the column dropdown, inside the report itself.
Setting up Salesforce bucket fields in five minutes
Setting this up is simple. Here is how I walk people through it:
- Open your report in the Report Builder and find the column you want to group.
- Click the little dropdown arrow on that column and select "Bucket this Field."
- Give your bucket field a name. This is what will show up as the header in your report and on your dashboard charts.
- Define your buckets. If it's a number field, you'll set ranges. If it's a picklist or text, you'll pick specific values to group together.
- Hit Apply. You'll see a new column appear with your custom category names.
You can now use that new field to group your rows, or as the X-axis on a chart. It adds clarity without cluttering up the database schema.
Real-world examples I use all the time
There are two or three ways people use Salesforce bucket fields most often. One is Opportunity sizing, when you want to see your pipeline split by deal size:
- Small: under $10k
- Mid-Market: $10k to $50k
- Enterprise: over $50k
Another good use is cleaning up messy Lead Sources. If you have "Webinar," "Web-Event," and "Online Seminar," bucket them all into one category called "Digital Events." The dashboard gets much easier to read at a glance.
If you find yourself building the same bucket field in five different reports, stop. That is a sign you should create a formula field on the object itself so everyone can use it.
Limitations you need to know about
Here is the catch. Because a bucket field only exists inside that one report, you can't use it in a Flow, a validation rule, or a different report. It is strictly for visualization.
Keep an eye on performance too. A massive report with thousands of records and complex bucketing can occasionally slow things down. And you can only have a few bucket fields per report. If you need more than that, you're probably over-complicating the report and should look at a real field or a formula instead.
Key takeaways
- No admin required: you create these without touching the object's fields.
- Report-specific: they live only in the report where you built them.
- Good for charts: they turn messy data into readable dashboard components.
- Value ranges: handy for grouping ages, dates, or revenue into "bands."
So the next time your boss asks for a report that groups data in a way the system was never built for, don't panic. Use Salesforce bucket fields. It's the fastest way to get the answer without opening a ticket for a configuration change. Try it on your next pipeline report and see how much cleaner your charts look.



Leave a Comment