


Setting up Salesforce Scheduler anonymous booking can feel like a puzzle with too many pieces. I've been there, staring at the object model wondering why a guest user can't see a single time slot even though the resources are clearly available. Once the configuration clicks, it's a solid way to let customers book appointments without the friction of a login screen.
The goal here is simple. A guest lands on a page, picks a service, finds a time that works, and gets a confirmation. No passwords, no "forgot username" emails, just a quick booking. Here is how I've handled this in real projects.
Configuring Salesforce Scheduler anonymous booking for guest users
Before you touch a single Flow, get your licenses and permissions straight. Your technicians or agents need the Scheduler license because they're the ones getting booked. Your managers might need a Greeter license. The customer needs no license at all to book as a guest.
One thing that trips people up is the Guest User Profile. You have to give that profile "Read" access to almost all the Scheduler objects. If you forget to grant access to Service Territories or Work Types, your Flow will just look like a blank screen to the customer.
The essential object model
You can't skip the data setup. Scheduler relies on a specific hierarchy to figure out who is available and when. Here are the big players you'll need to configure:
- Operating Hours: These define the "when." Think of these as your business hours.
- Service Territory: This is the "where." It could be a physical shop or a virtual region.
- Service Resource: These are your people. They must be linked to a User record.
- Work Type Groups: This is how you categorize services, like "Consultations" or "Repairs."
- Work Types: These define the specifics, like a "30-minute Screen Repair."
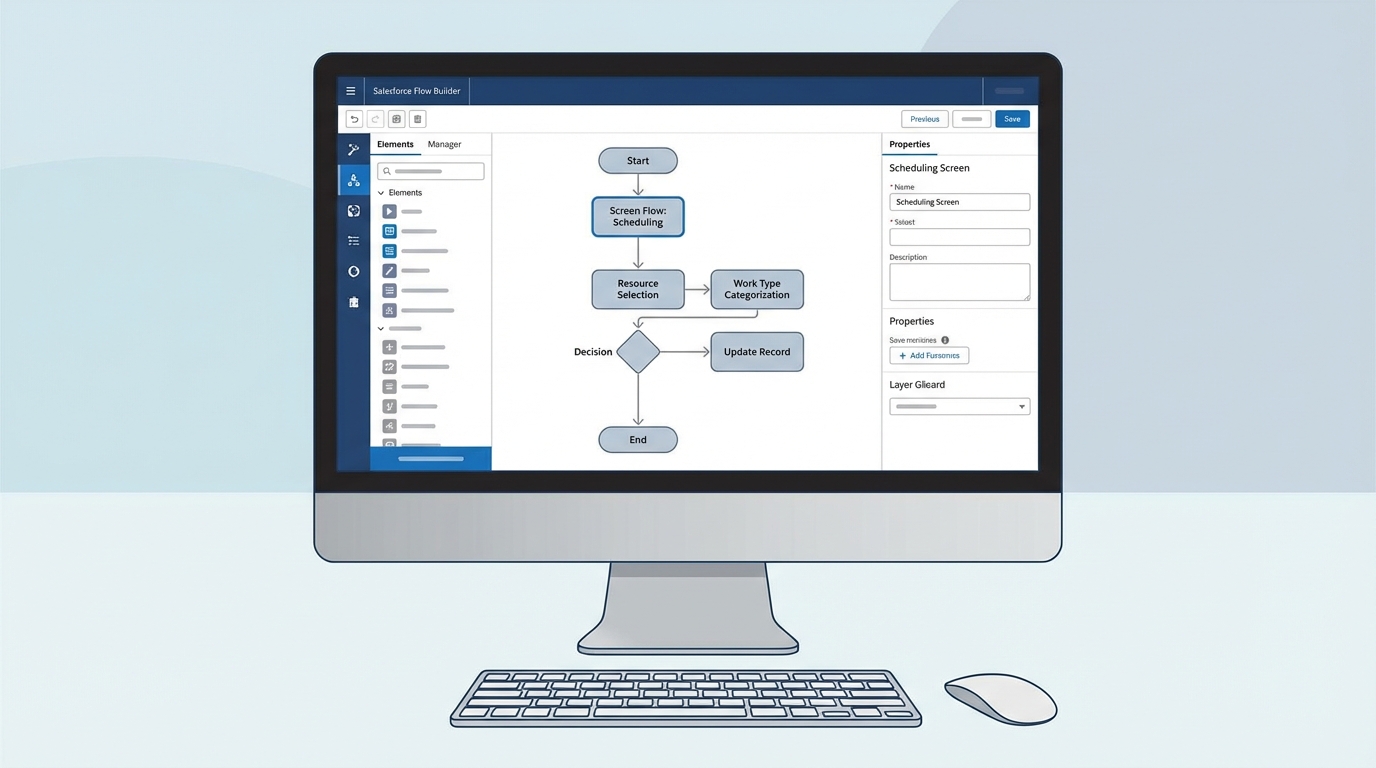
A screen flow for appointment scheduling, laid out on the Flow Builder canvas.
Building the Flow for Salesforce Scheduler anonymous booking
You'll be using a Screen Flow to handle the interaction. Salesforce provides some out-of-the-box templates, but I usually end up building a custom one to keep the UI clean. Keep Salesforce Flow best practices in mind while you build, especially around how you handle data lookups for guest users.
The "Select Service Appointment Time" component does the work of checking calendars and showing slots, and you have to feed it the right data. Pass it the Work Type ID, the Territory ID, and a Scheduling Policy. Leave any of those out and the component shows no slots at all.
Handling time zones
Time zones cause more booking headaches than anything else. I've seen teams try to hardcode this, and it's a mistake. Create a Custom Metadata Type to map a customer's state or zip code to a time zone string like "America/New_York".
When the guest enters their location info, use a Get Records element to find the matching time zone in your metadata. Then pass that variable into the Scheduler component. The customer sees times on their own local clock instead of yours.
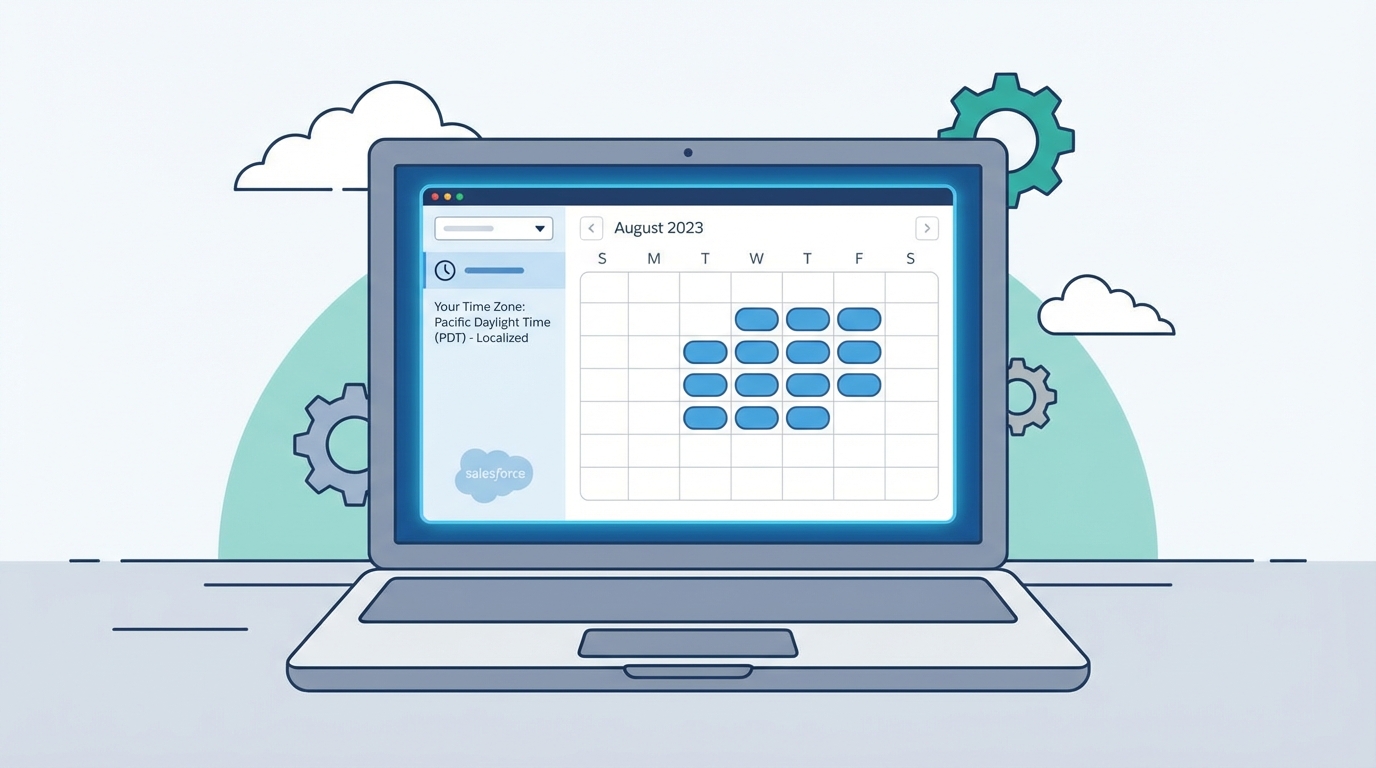
The booking calendar as the customer sees it, with open slots and a time zone selection.
The "Save Appointment" step
Once the user picks a slot, you need to actually create the record, which is the "Save Appointment" action in Flow. Here is a tip: don't end the Flow right there. Show a confirmation screen with the appointment number and maybe an "Add to Calendar" link. It gives the user peace of mind that the booking actually went through.
Pro Tip: Always test your guest flow in an Incognito or Private browser window. Testing while logged in as an Admin will hide permission issues that your real customers will definitely run into.
Embedding the booking experience
So where does this Flow live? Most of the time you'll drop it onto a public page in Experience Cloud, which is the fastest way to get it live. If your main website isn't on Salesforce, that's where Lightning Out comes in. It lets you "project" your Salesforce Flow onto an external site like WordPress or a custom React app.
The Lightning Out route needs a small bit of Javascript. You also have to add your external domain to the CORS (Cross-Origin Resource Sharing) whitelist in Salesforce Setup. If you don't, the browser will block the connection for security reasons. You might wonder about Apex vs Flow for this part, but for the UI, Flow is almost always the right call here.
<script>
    $Lightning.use("c:bookingApp", function() {
        $Lightning.createComponent("lightning:flow",
            { onstatuschange: handleStatusChange },
            "flowContainer",
            function (component) {
                component.startFlow("Your_Guest_Booking_Flow_API_Name");
            }
        );
    }, 'https://your-community-domain.com');
</script>
Key takeaways for a successful setup
- Guest Permissions: Ensure the Guest User Profile has access to all Scheduler objects and the Flow itself.
- Scheduling Policies: Use these to set rules like "no bookings within 2 hours of now" or "don't book more than 2 weeks out."
- Custom Metadata: Use it for timezone mapping to avoid manual errors and hardcoding.
- Testing: Use Incognito mode to verify that unauthenticated users can actually finish the process.
Wrapping up
Setting up Salesforce Scheduler anonymous booking is mostly about making sure the underlying data (territories, resources, and hours) is rock solid. Get the permissions right and handle the timezone logic properly, and you end up with a booking system that just works.
Start small. Get a basic Flow working in a sandbox with one territory and one resource. Once you see that first "Success" screen in an incognito window, the hard part is over. Then you can start adding the fancy stuff like SMS reminders or payment integrations.



Leave a Comment