


The reality of OmniStudio deployment
To deploy OmniStudio components, deploy your underlying Salesforce metadata first using SFDX, then migrate your component DataPacks with the Vlocity Build Tool (VBT). Following a version-controlled 4-step CLI workflow resolves nested dependencies across OmniScripts, FlexCards, and DataRaptors while ensuring components activate properly in the target org. This sequence prevents the missing dependency failures and inactive component errors common with Change Sets.
I've seen teams treat these like standard metadata, and it almost always ends in a mess of missing dependencies.
Why Change Sets struggle with OmniStudio deployment
I'm a fan of keeping things simple, but Change Sets are the wrong tool for this job. They don't reliably pick up the nested relationships inside an OmniScript or an Integration Procedure. Forget one sub-component and the whole thing fails in the target org.
In my experience, relying on manual clicks in the UI is a recipe for configuration drift. You want a process that's repeatable and version-controlled. That's where the Vlocity Build Tool (VBT) and SFDX come into play.
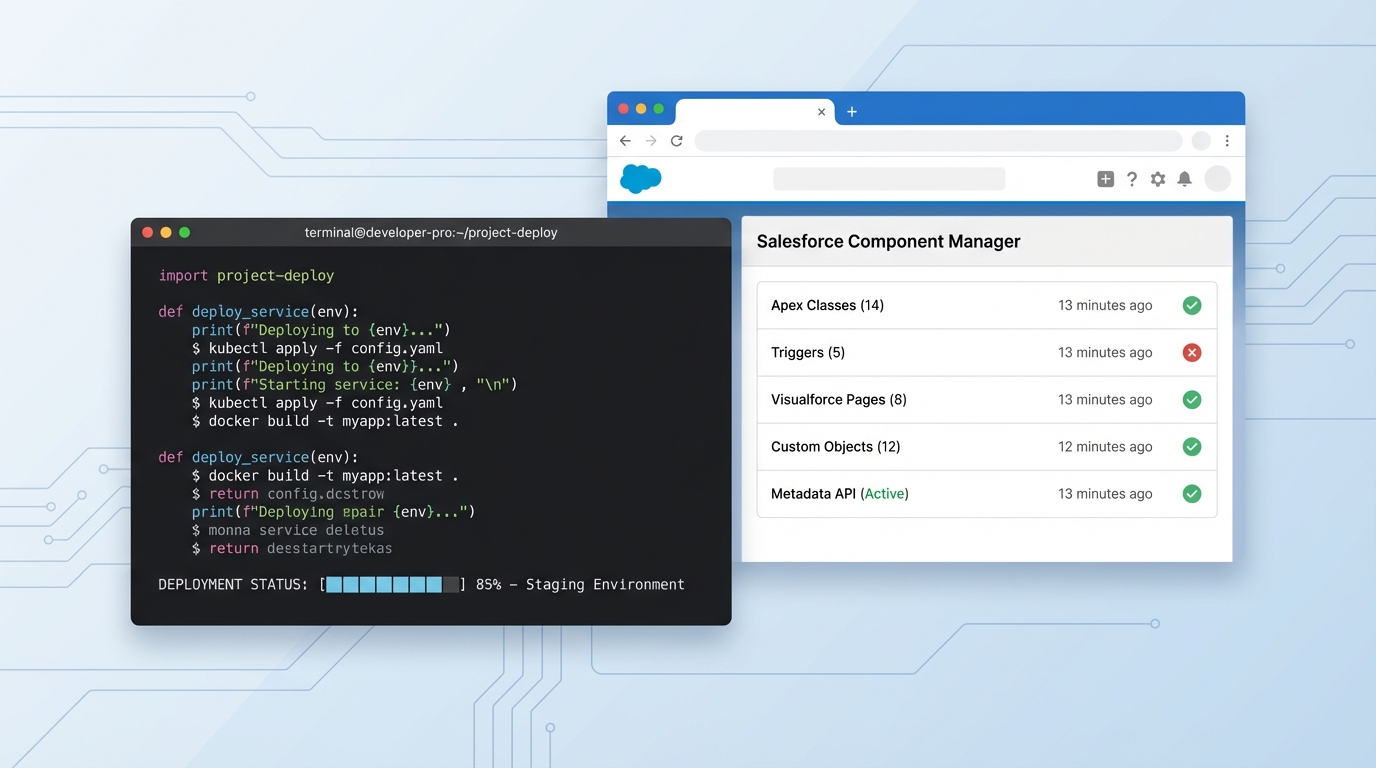
A terminal running a deployment next to the OmniStudio component management interface.
The Vlocity Build Tool (VBT)
The Vlocity Build Tool is the standard way to migrate these assets. It understands how a FlexCard connects to a DataRaptor and moves them together as a "DataPack." It is a command-line tool that does the exporting from your source org and the importing into your target.
The typical CLI flow:
vlocity packExport -u SourceOrgAlias -p ./datapack - query "Name='MyNewServiceProcess'"
vlocity packDeploy -u TargetOrgAlias -p ./datapack
The activation step trips people up. By default, your components can land in the target org and stay inactive. I include the activation flags in my deployment commands so the business users can actually see the changes immediately.
Handling platform dependencies with SFDX
Here's the catch. Your OmniStudio assets usually sit on top of regular Salesforce metadata like Custom Objects, Fields, or Permission Sets. VBT won't move those. You need the Salesforce CLI (SFDX) for the platform-level stuff.
Deploy your standard metadata first. If your DataRaptor is looking for a field that doesn't exist yet in Production, your OmniStudio deployment will fail. It sounds obvious, and it is still the number one reason for deployment errors I see in the field.
Pro tip: Always keep your DataPacks and your SFDX metadata in the same Git repository. Versioning them together stops you deploying a new OmniScript version that relies on a field you haven't merged yet.
A workflow for OmniStudio deployment that holds up
So what does this look like in a real project? Most of the teams I've worked with follow the same sequence, and the order of operations matters more than the commands themselves.
- Identify the metadata. List out any new objects, fields, or Apex classes your OmniStudio components need.
- Deploy the platform metadata. Use
sfdx force:source:deployto push the foundations to your target sandbox. - Export and deploy the DataPacks with VBT, which moves the actual OmniStudio logic.
- Do the manual post-steps. Update any Named Credentials or environment-specific URLs that might differ between Sandbox and Prod.
Following a strict naming convention also makes this much easier. If your components are named randomly, your VBT queries will be a nightmare to maintain.
Automating with CI/CD
If you're still doing this by hand every Friday night, it's time to automate. Wrap these VBT commands into a GitHub Action or a Jenkins pipeline, and the OmniStudio deployment runs whenever you merge a pull request.
This approach reduces human error and ensures that what you tested in QA is exactly what lands in Production. It's a bit of work to set up initially, but it pays for itself in a single release cycle.
Common troubleshooting tips
Ever had a deployment "succeed" but the FlexCard just shows a blank screen? It's usually a permission issue or a missing DataRaptor. Here's a quick checklist I use when things go sideways:
- Check if the component is actually activated in the target org.
- Verify that the user has the correct OmniStudio permission sets assigned.
- Ensure any Remote Site Settings or Named Credentials were updated for the new environment.
- Look at the VBT logs for any "Partial Success" messages. Those are the sneaky ones.
Key takeaways
- Avoid Change Sets for OmniStudio assets; use the Vlocity Build Tool (VBT) instead.
- Deploy your standard Salesforce metadata (fields, objects, classes) before your DataPacks.
- Keep all your assets in version control to maintain a single source of truth.
- Always automate the activation of OmniScripts and FlexCards during the OmniStudio deployment.
- Double-check environment-specific configurations like API endpoints after the move.
Getting your OmniStudio deployment right comes down to respecting the dependencies. Don't skip steps or move too fast. Build a repeatable process, lean on the CLI tools, and moving these components becomes a routine part of release day.



Leave a Comment