


You build a complex multi-screen flow, and halfway through the user quits because nothing on the screen tells them how much is left. A Salesforce Flow progress bar is one of those small UX wins that keeps people from dropping off your forms. It gives them a clear light at the end of the tunnel so they know exactly where they stand.
I've seen teams hack this together with static images or display text on every screen, and it is a maintenance nightmare: change one step and you edit every screen. A small reusable Lightning Web Component (LWC) does the same job and then stays out of your way.
Why you should use a Salesforce Flow progress bar
Clarity is the main reason. When a user sees the path at the top of the screen, they feel in control. From a dev perspective the payoff is reusability, because the LWC takes a simple list of steps as a string. If you already follow best practices for Salesforce Flow, you know that keeping your logic decoupled from your UI is the way to go.
Define your stages once in a variable, then tell each screen which stage is currently active. That is easier than dragging multiple components around or managing visibility rules for five different progress images. It also uses the standard Lightning Design System (SLDS) look, so it feels native to Salesforce.
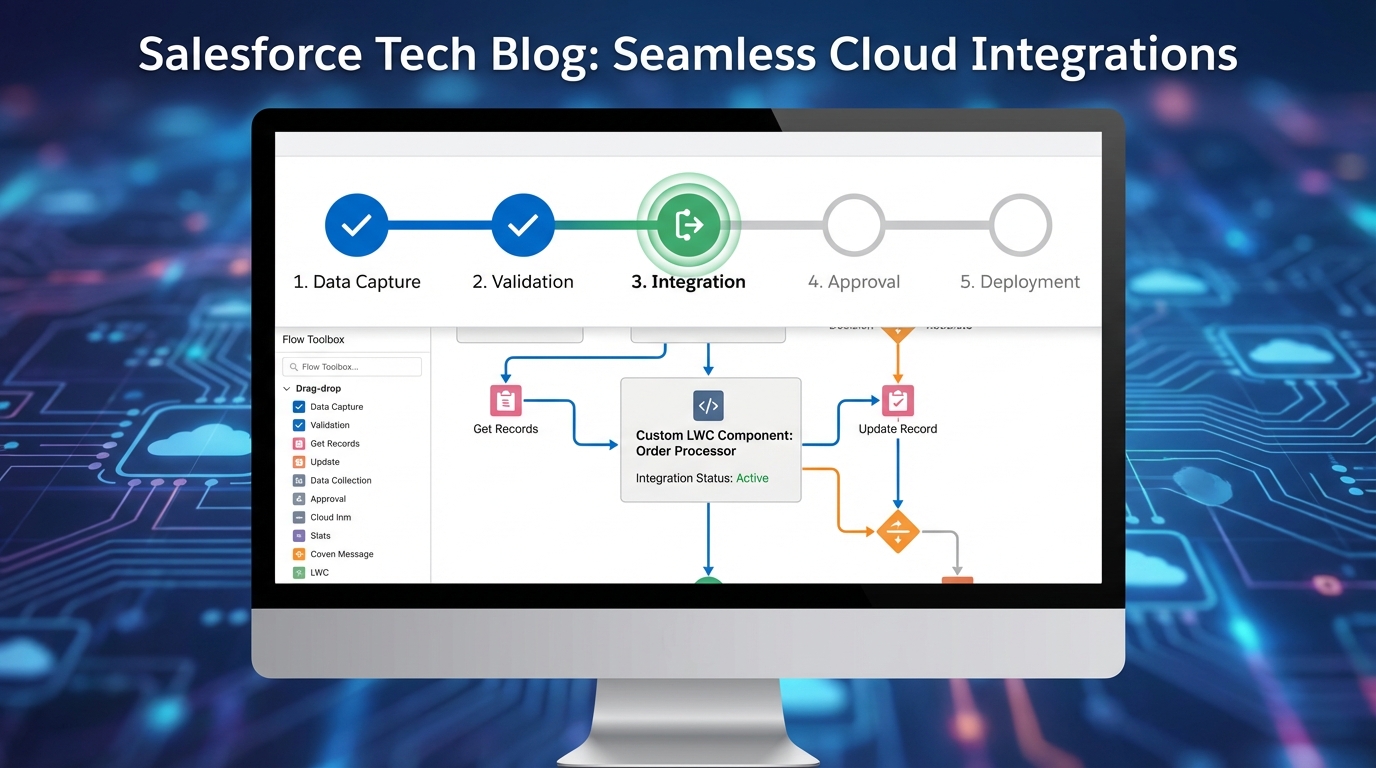
A Salesforce Flow screen with a multi-step horizontal progress bar across the top.
Building your own Salesforce Flow progress bar with LWC
The component takes two inputs: a comma-separated list of all your steps, and the name of the current step. It splits that string and works out which index to highlight. Here is the code you need to get it running.
The HTML template
This one is straightforward. We use the standard lightning-progress-indicator and loop through our steps. Note the type="path" attribute, which is what gives it the chevron look you see on Lead and Opportunity records.
<template>
    <lightning-progress-indicator current-step={currentStepValue} type="path" variant="base">
        <template for:each={steps} for:item="step">
            <lightning-progress-step label={step.label} value={step.value} key={step.value}></lightning-progress-step>
        </template>
    </lightning-progress-indicator>
</template>
The JavaScript controller
The logic lives here. We take stepsString, split it on the comma, and map it into an array of objects the progress indicator understands. Matching the labels exactly is what trips people up, so I've added a trim() call to absorb any accidental spaces in your comma-separated list.
import { LightningElement, api, track } from 'lwc';

export default class DynamicProgressPath extends LightningElement {
    @api currentStep;
    @api stepsString;

    @track steps = [];
    @track currentStepValue;

    connectedCallback() {
        this.initializeSteps();
        this.setCurrentStepValue();
    }

    initializeSteps() {
        if (this.stepsString) {
            this.steps = this.stepsString.split(',').map((step, index) => ({
                label: step.trim(),
                value: `step-${index + 1}`
            }));
        }
    }

    setCurrentStepValue() {
        const step = this.steps.find(s => s.label === this.currentStep);
        this.currentStepValue = step ? step.value : '';
    }
}
The meta XML
Don't forget to expose the component to Flow Builder. We need to define our two properties so they show up in the Flow's configuration panel.
<?xml version="1.0" encoding="UTF-8"?>
<LightningComponentBundle xmlns="http://soap.sforce.com/2006/04/metadata">
    <apiVersion>61.0</apiVersion>
    <isExposed>true</isExposed>
    <masterLabel>LWC Progress Path</masterLabel>
    <targets>
        <target>lightning__FlowScreen</target>
    </targets>
    <targetConfigs>
        <targetConfig targets="lightning__FlowScreen">
            <property name="currentStep" type="String" label="Current Step Label" />
            <property name="stepsString" type="String" label="Steps (Comma Separated)" />
        </targetConfig>
    </targetConfigs>
</LightningComponentBundle>
Setting up your Salesforce Flow progress bar
With the code in your org, you just need to wire it up. Start by creating a text variable in your flow, maybe call it varT_Stages. Set the default value to your stages: Customer Info, Account Setup, Billing, Review. Everything then lives in one spot.
Next, drag your new LWC onto the first screen. For the Steps input, use your variable. For the Current Step input, type the label for that specific screen. Repeat for every screen in your flow. Since every screen reads the same variable for the steps list, the Salesforce Flow progress bar stays consistent as the user moves forward or backward.
Pro tip: if you're building for a global org, don't hard-code the stage names in the variable. Use Custom Labels instead so your progress bar can be translated into different languages without touching the flow logic.
If you want more UI tricks, have a look at how to handle element scrolling in LWC so your users stay focused on the right part of the screen when they click Next.
Key takeaways
- A progress bar reduces form abandonment by setting clear expectations.
- One text variable for the stage names makes updates much faster.
- The same LWC on every screen keeps the UI consistent across the whole flow.
- SLDS components make your custom flow look like part of the standard platform.
It is a simple tool and it earns its keep. Once the LWC is in your org you can drop it into any flow in seconds, which beats hard-coding progress indicators screen by screen. Try it on your next multi-step project. It is also worth keeping an eye on top Flow features in the Spring '26 release to see if more native UI options are coming our way.



Leave a Comment